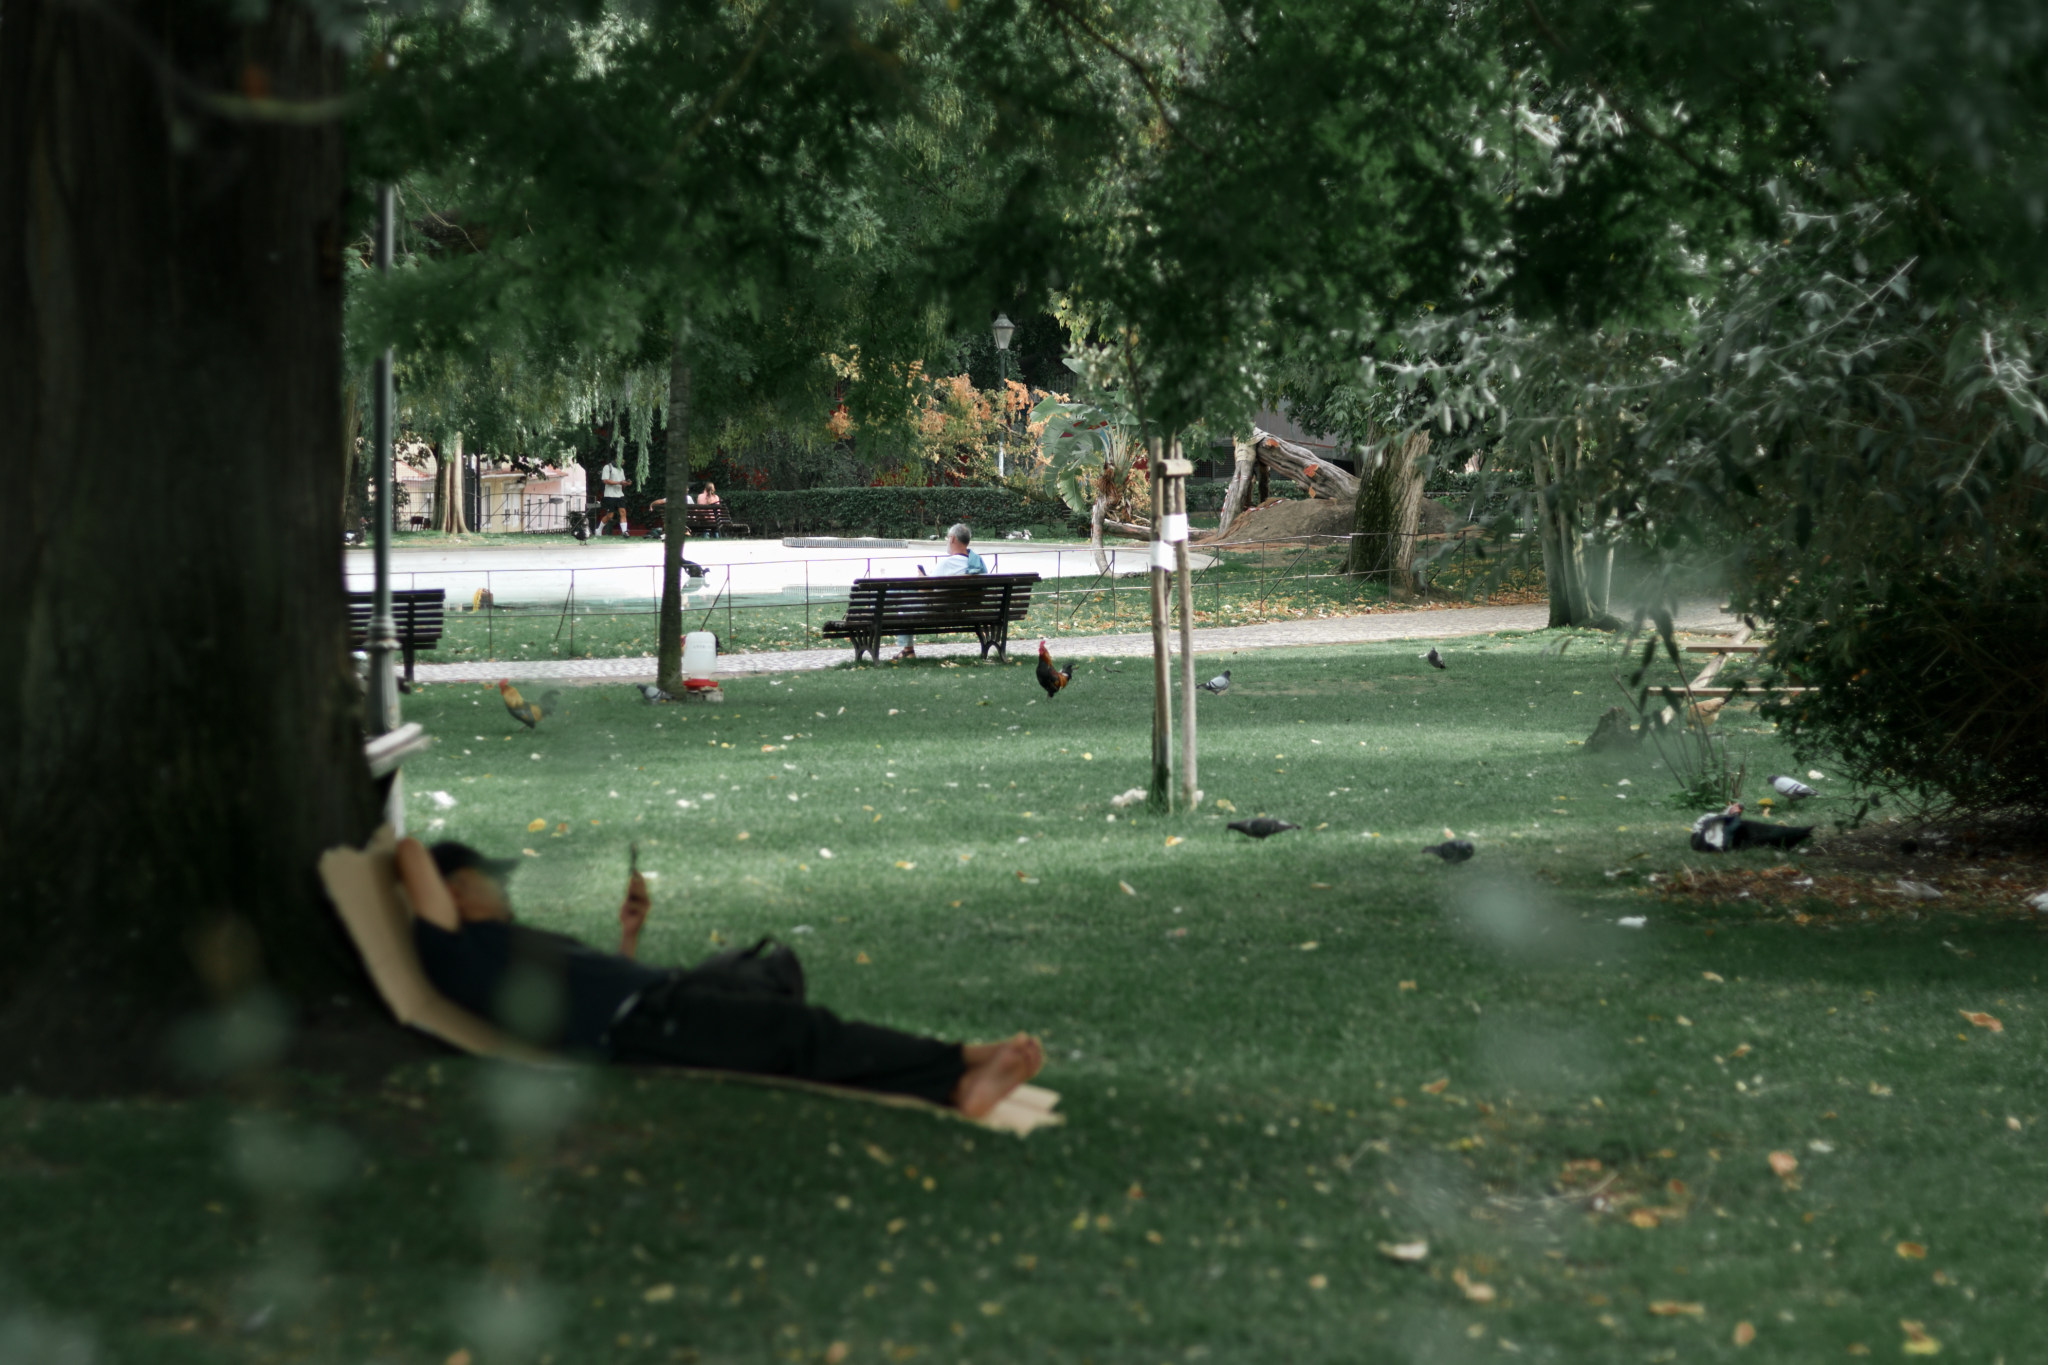
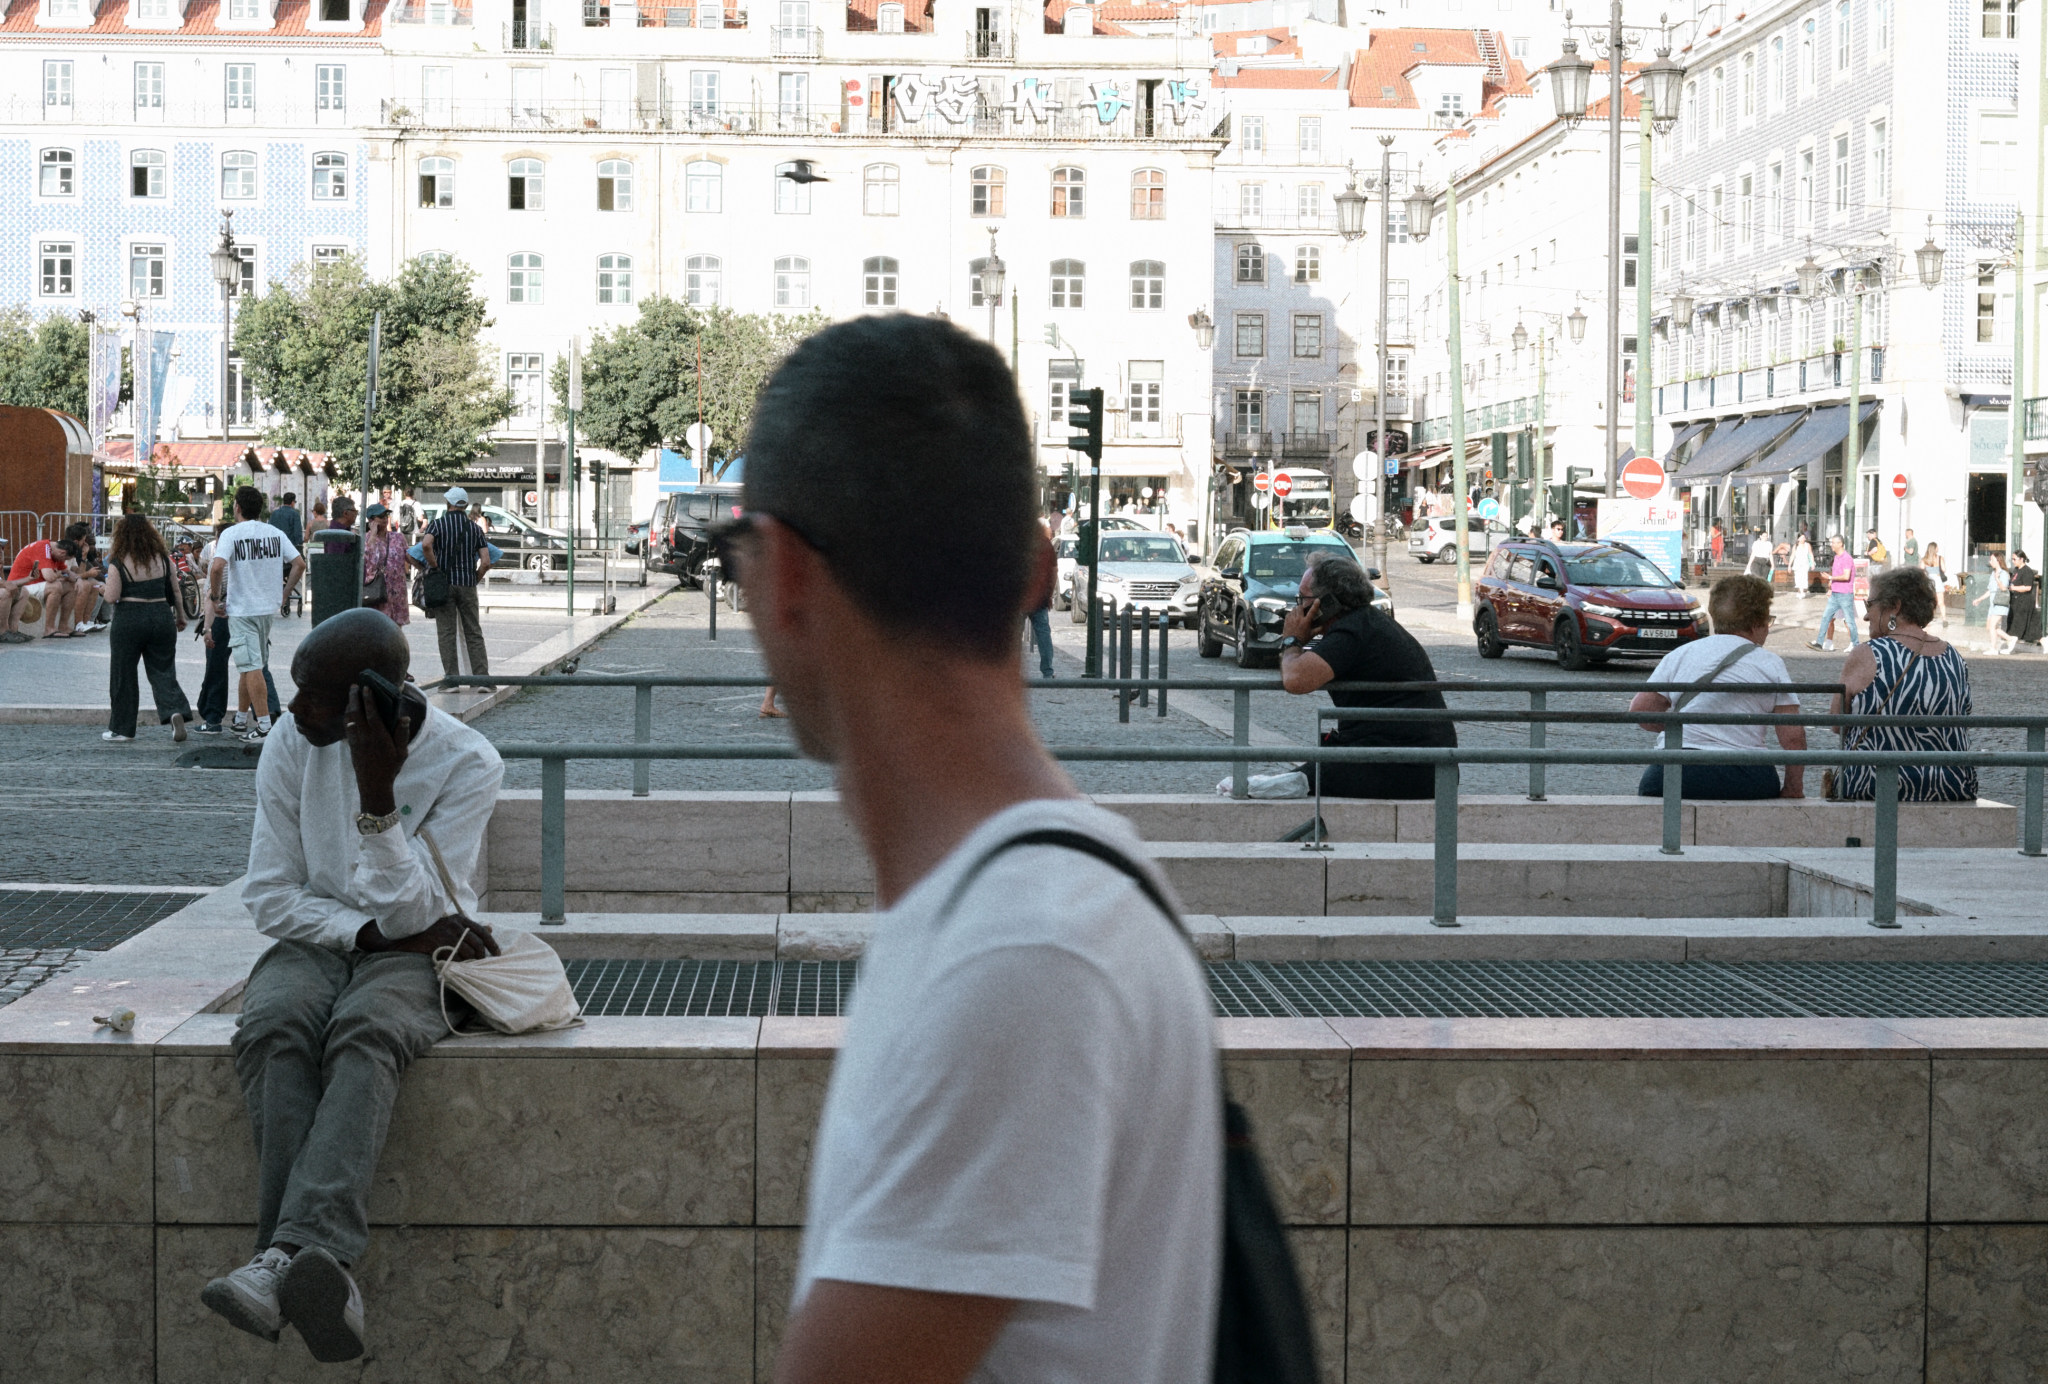
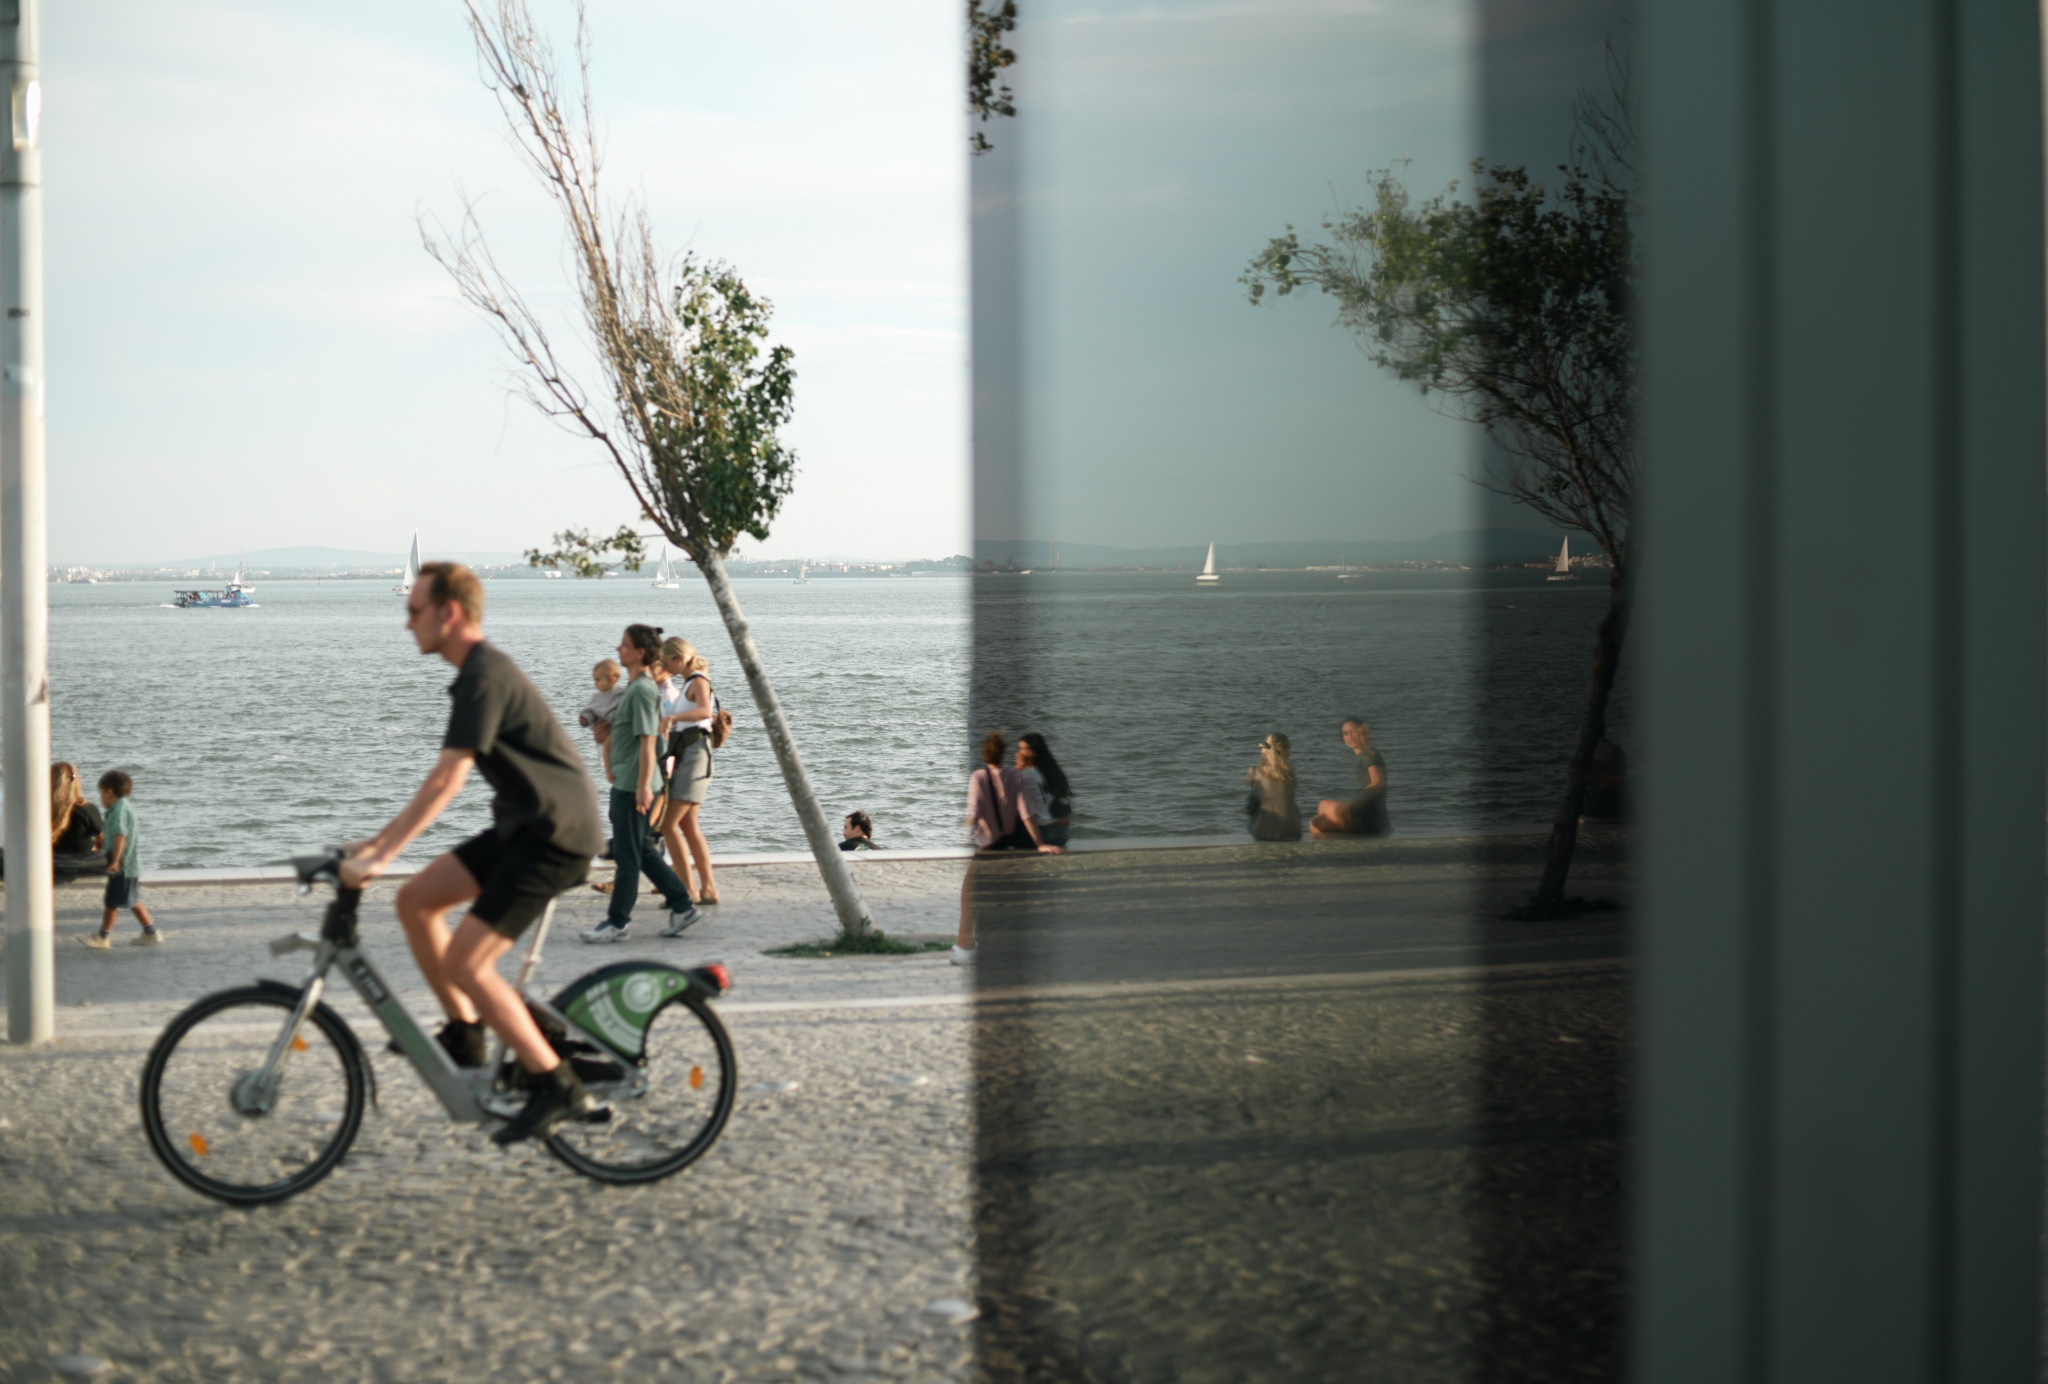
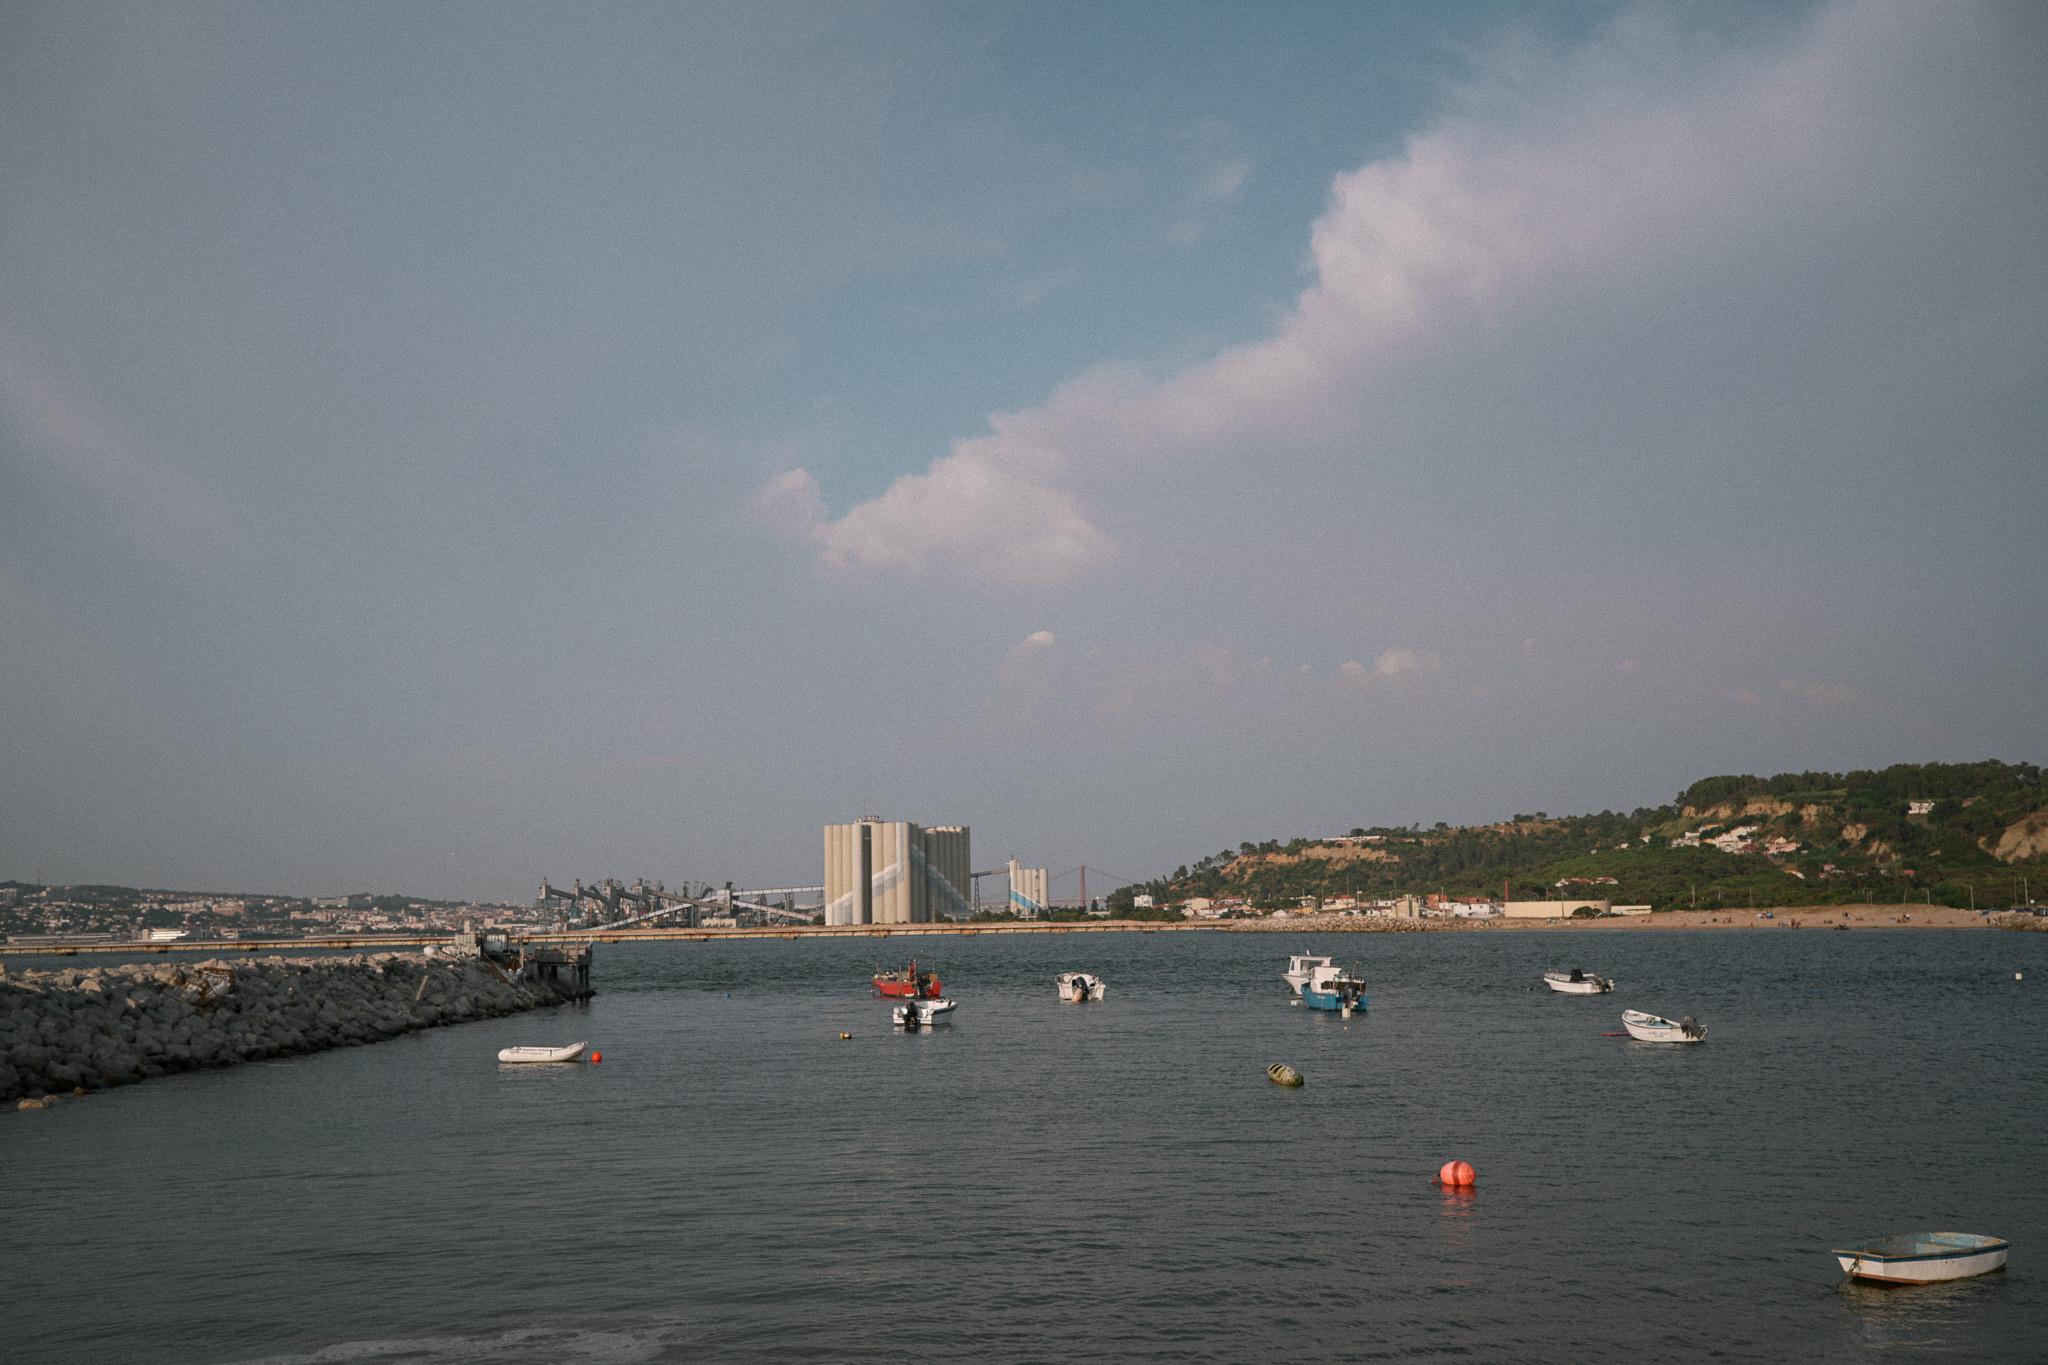
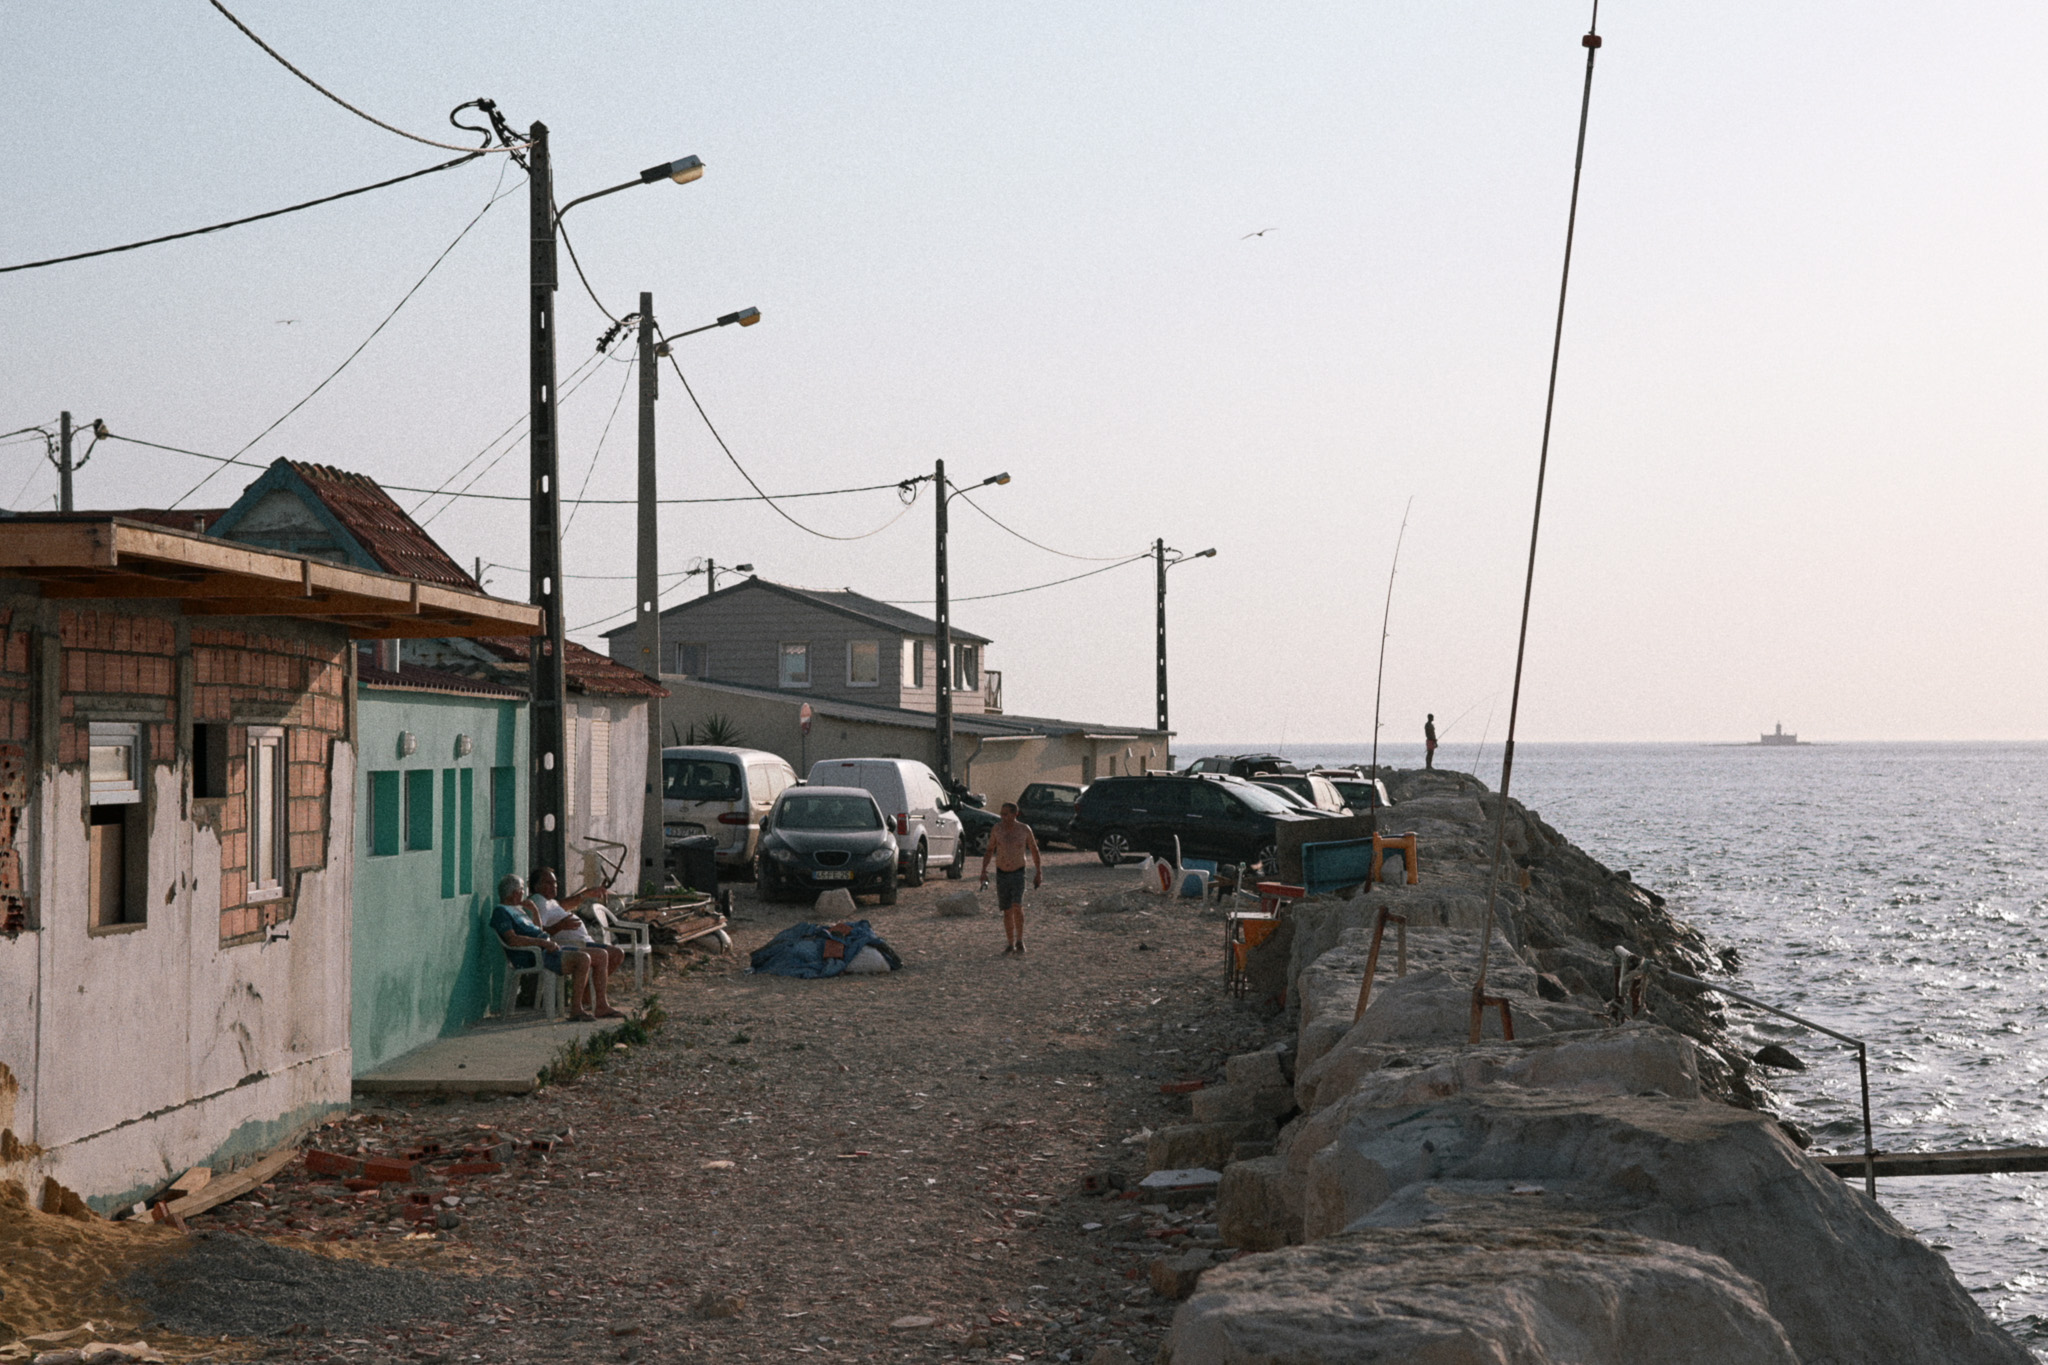
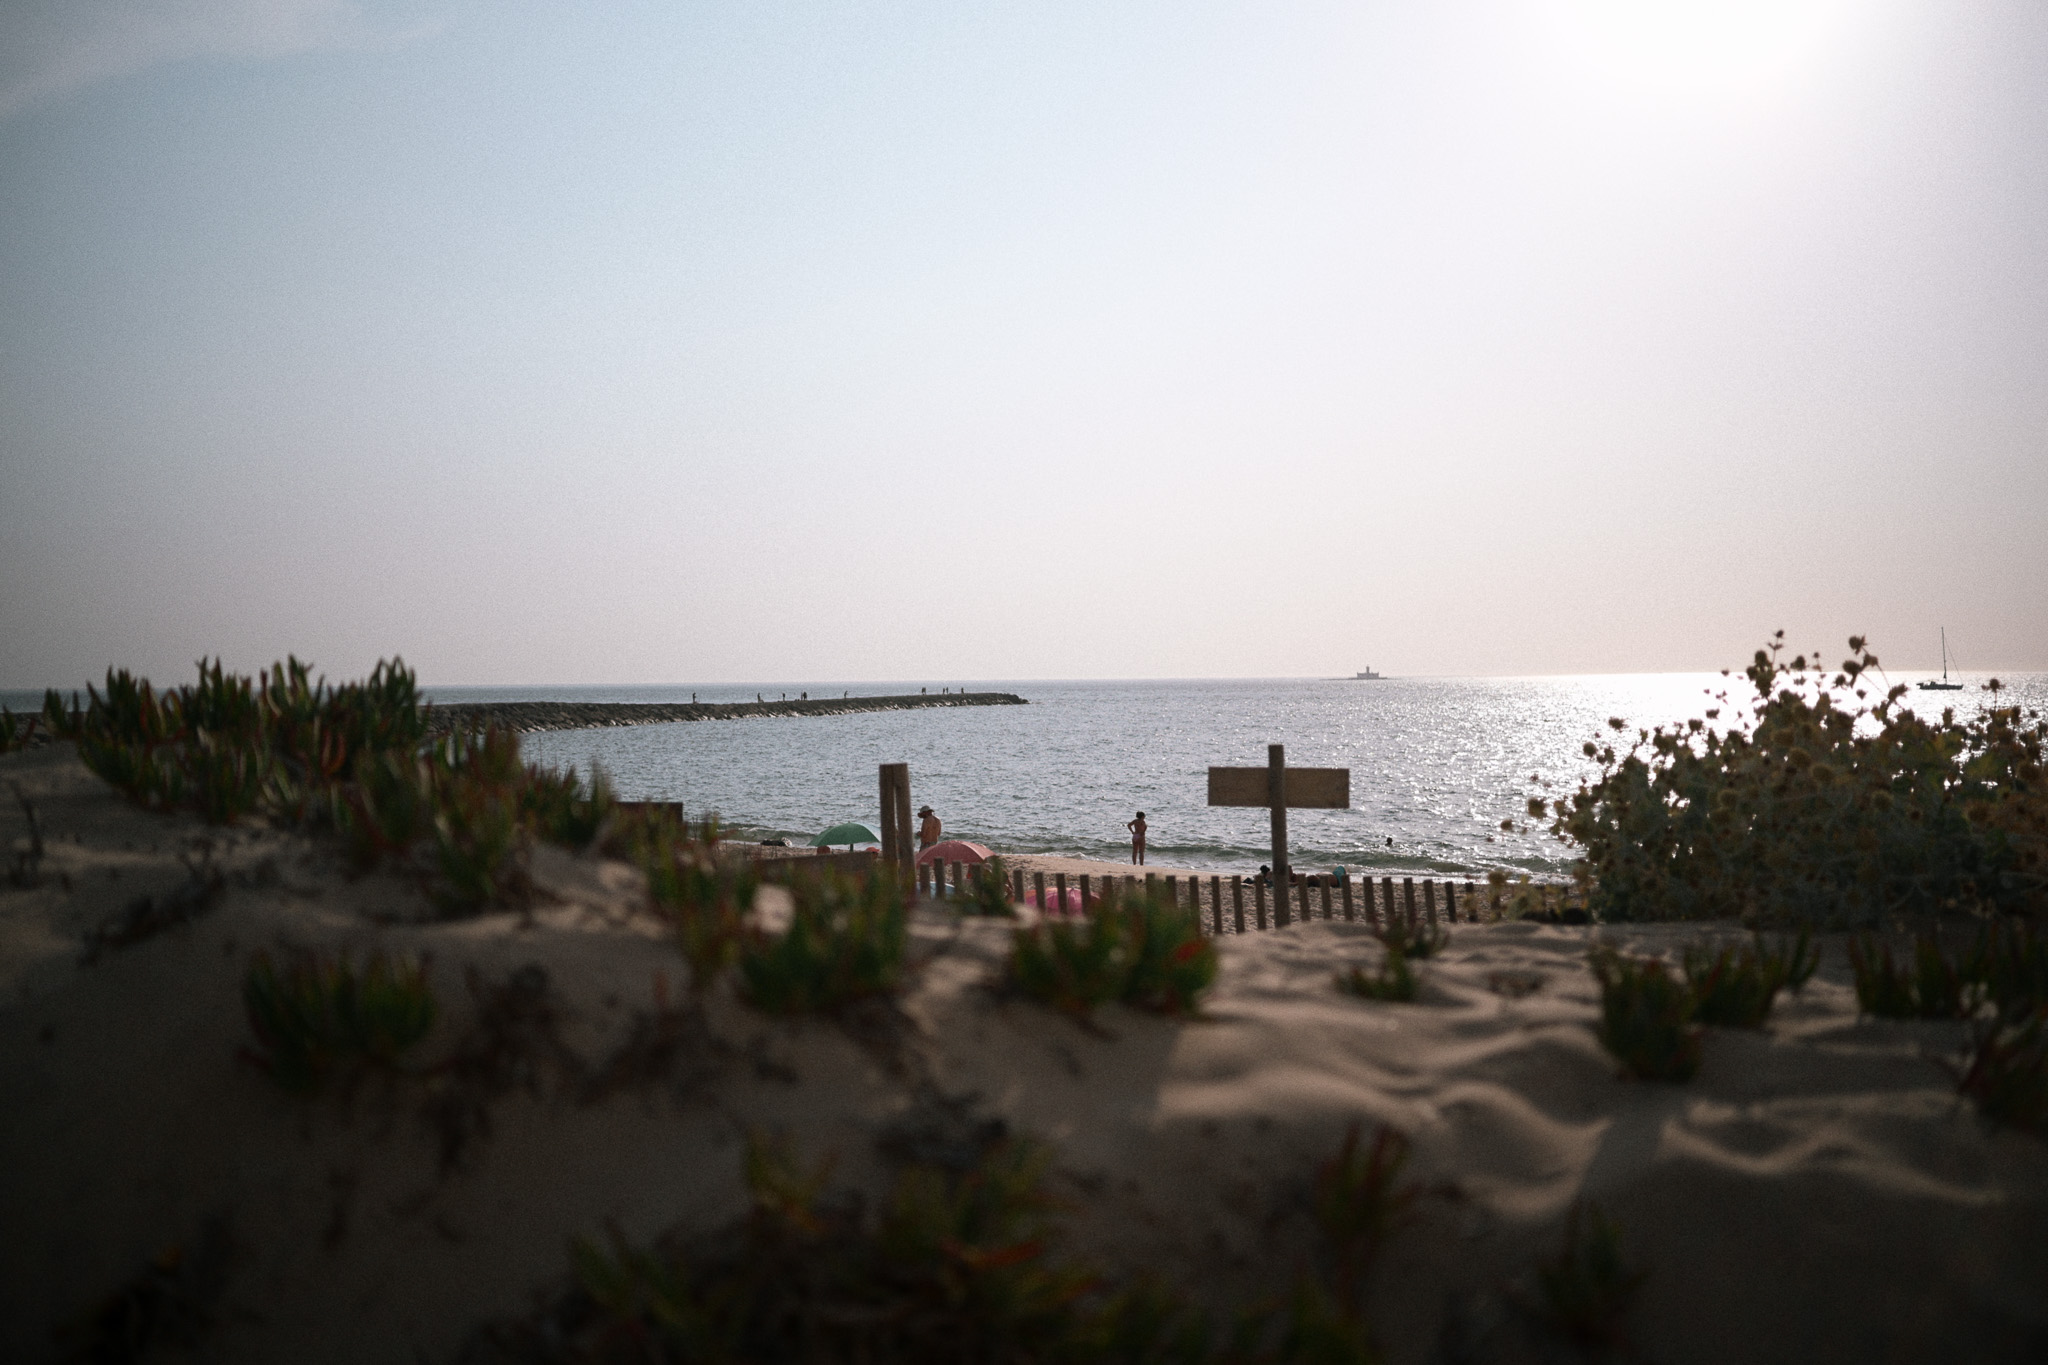
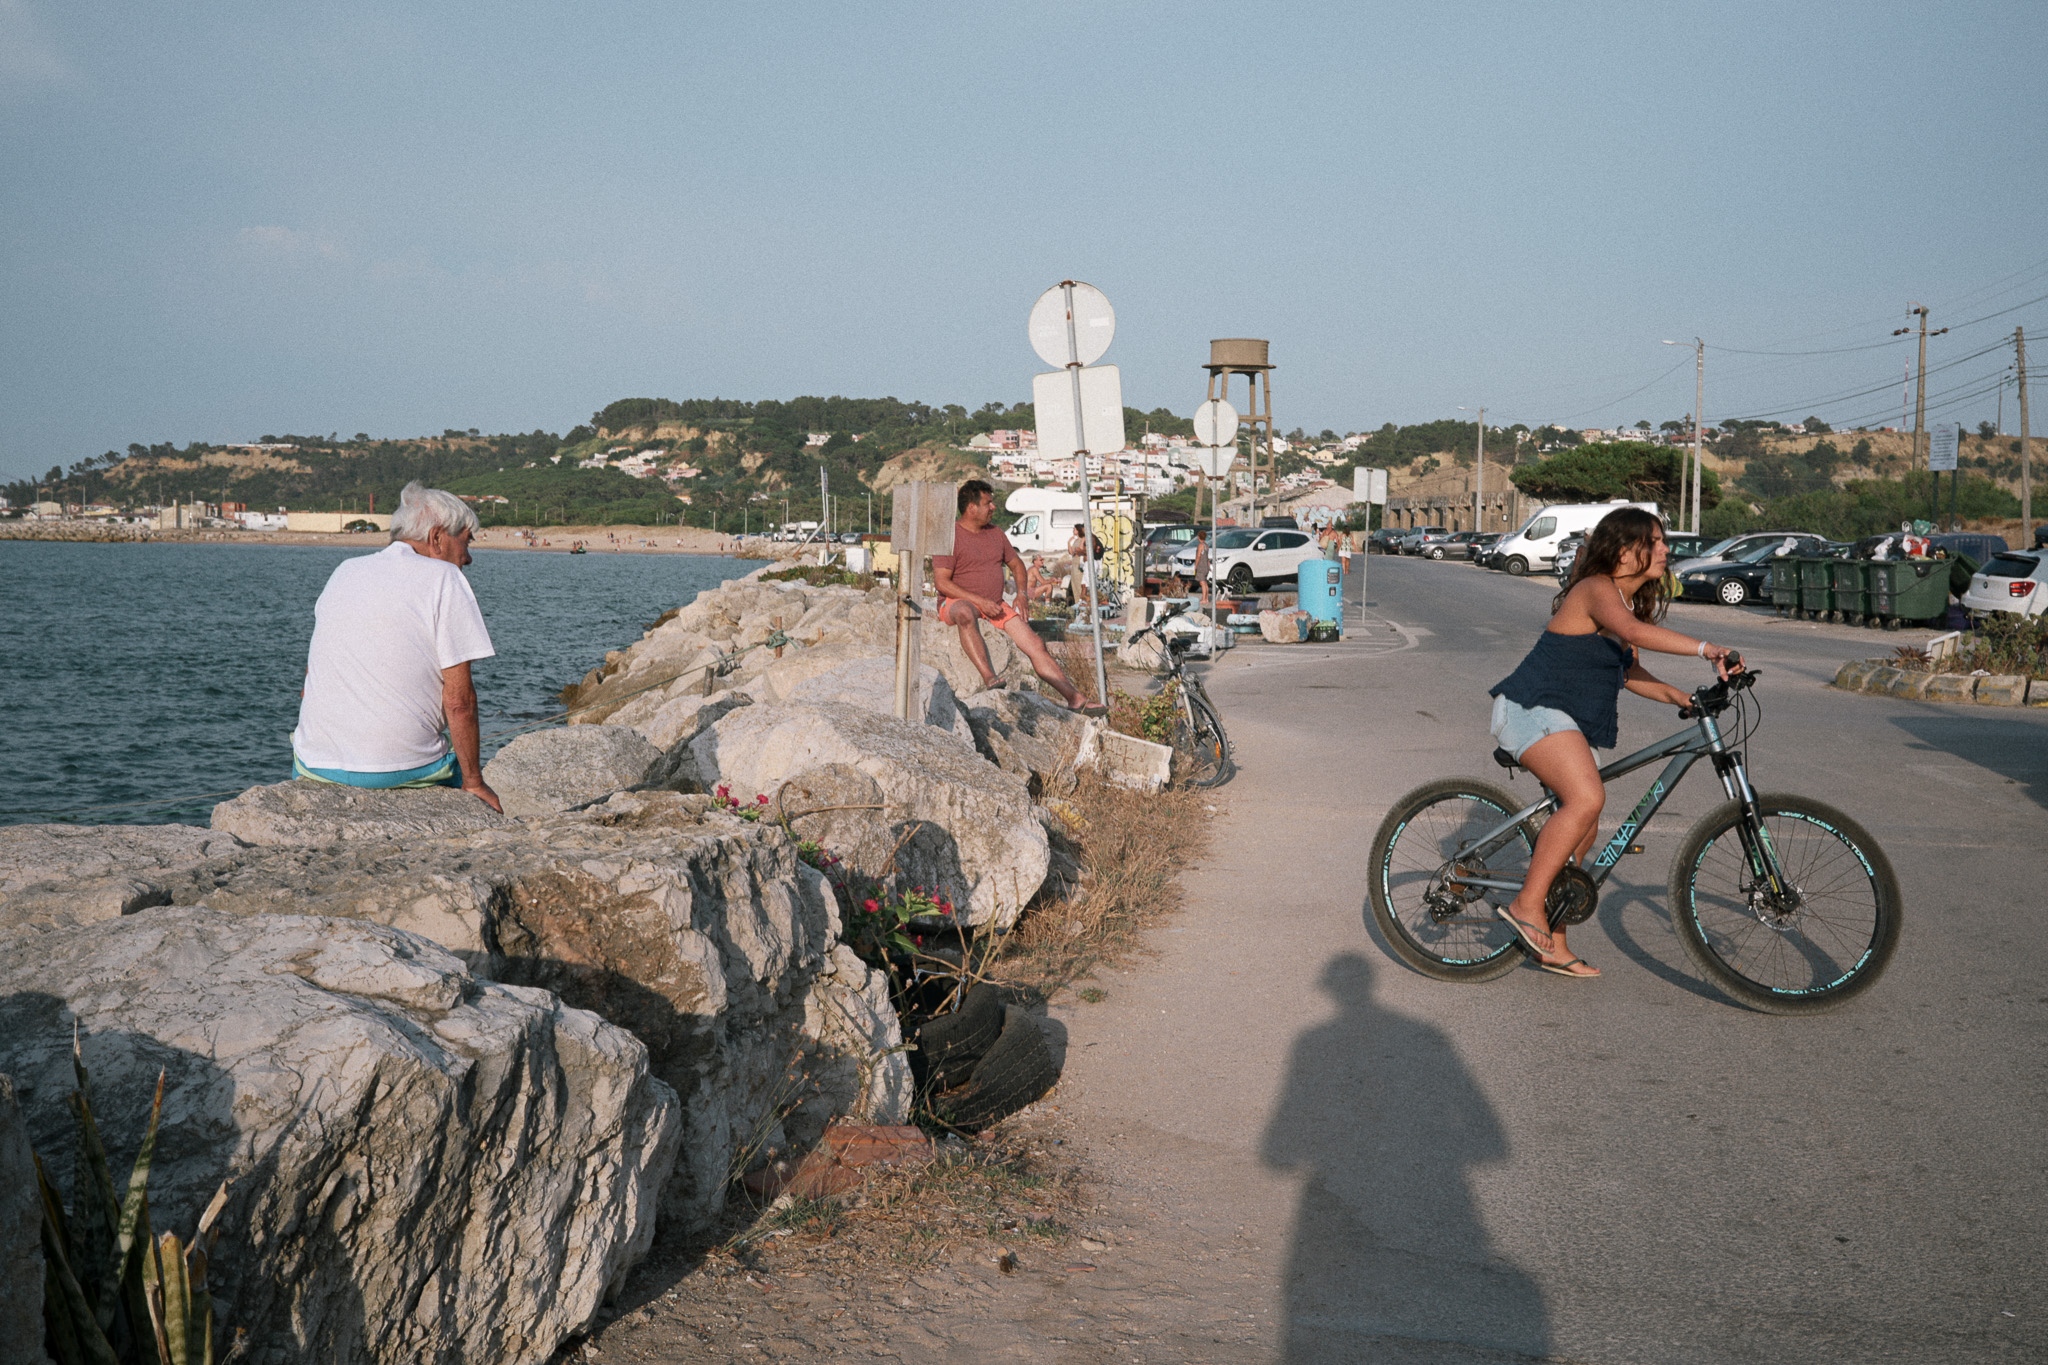
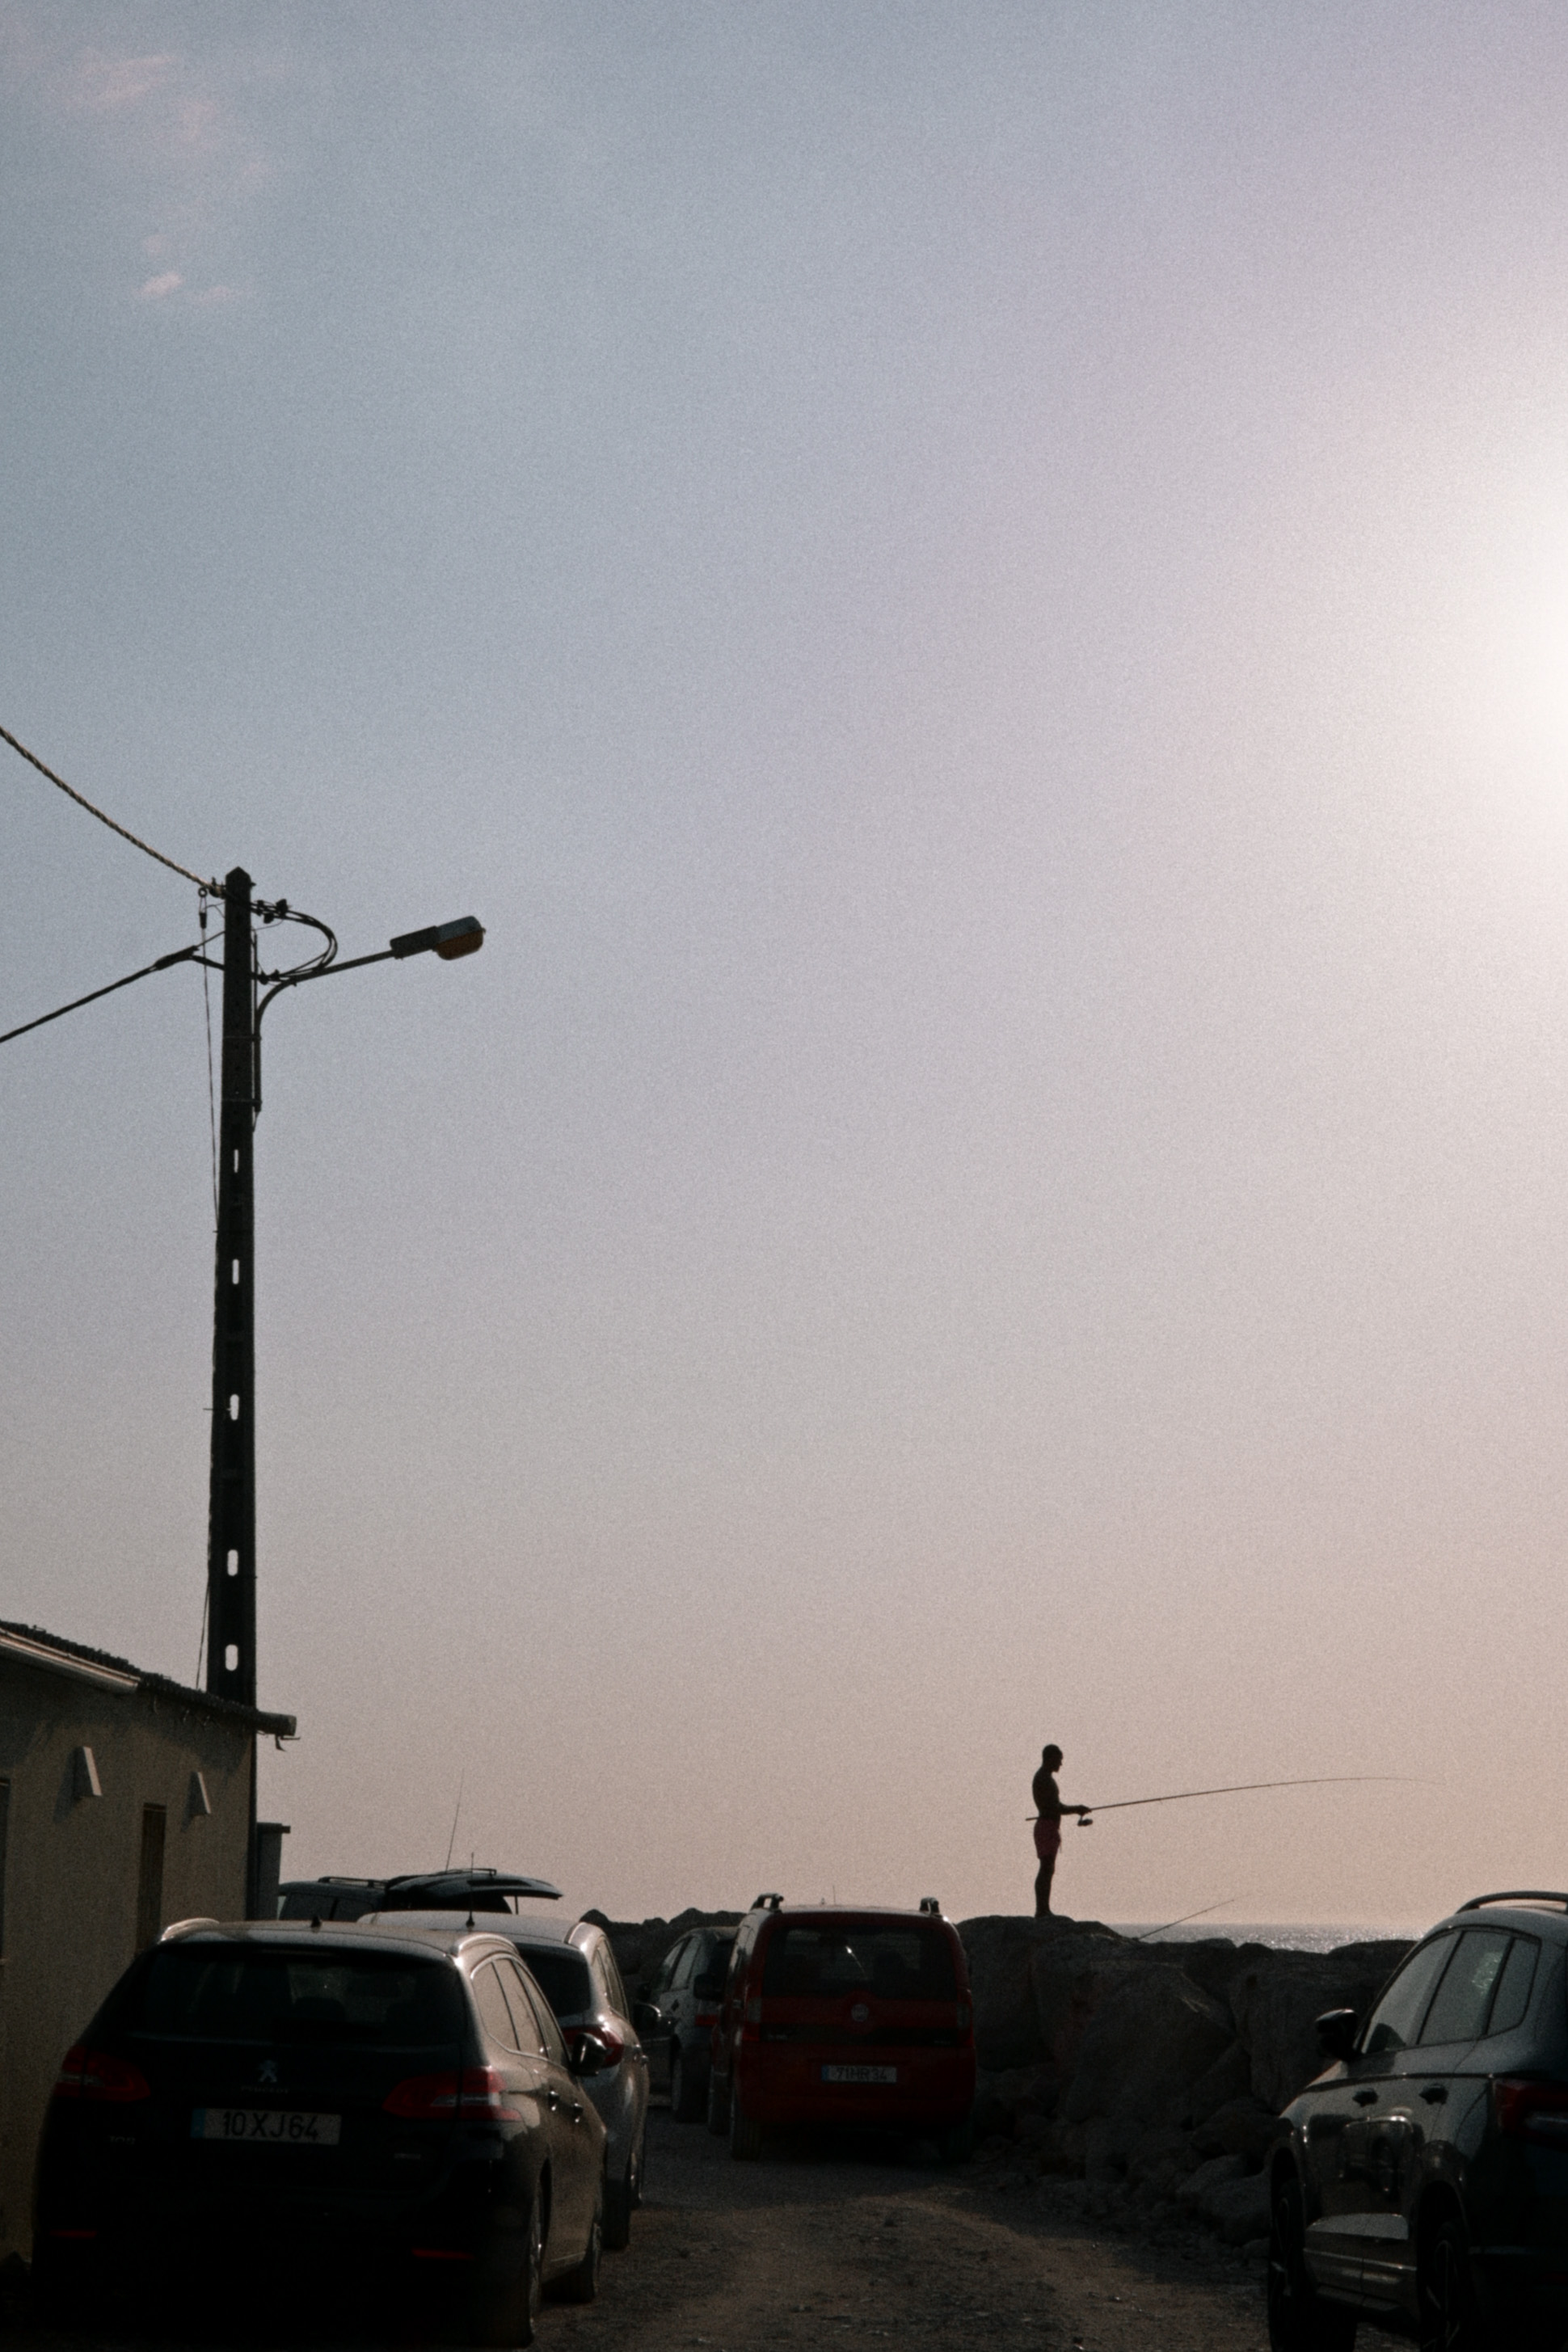
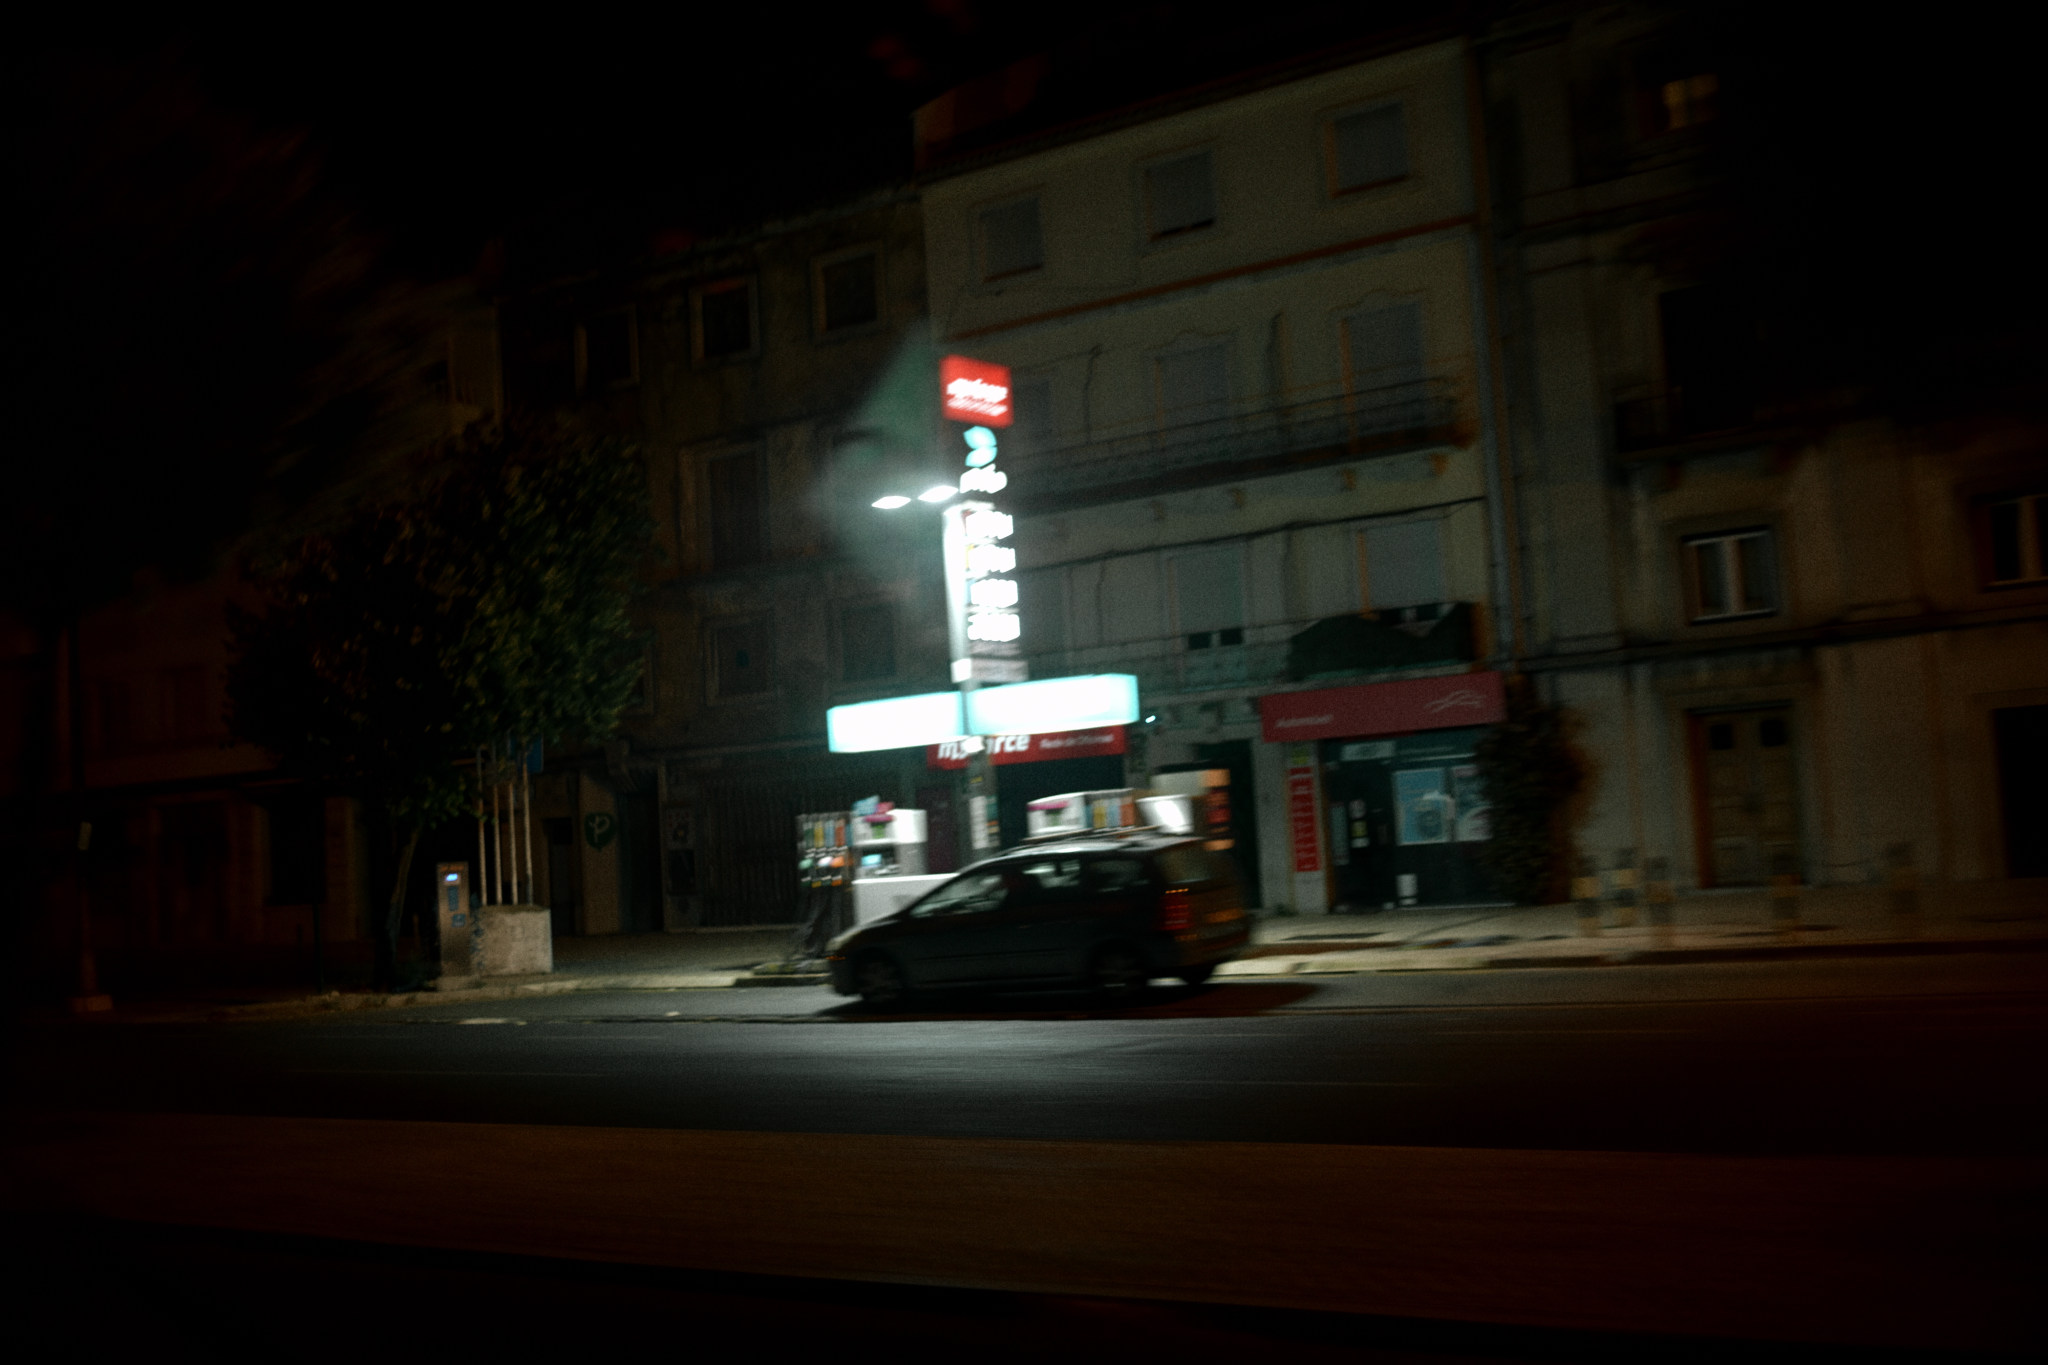
Ever since getting the Nikon ZF almost 3 years ago, the one thing I missed right from the start coming from Fujifilm was the (lack of) Jpg recipes. Back then the ZF was really limited in terms of Jpg profiles, but to Nikon’s credit in the last couple of years they have added some tremendous new features in this area that on paper go far and beyond what Fujifilm offers. I’m talking specifically about the addition of Flexible Color and Grain options, the first of which works in tandem with Nikon’s NX Studio.
NX Studio is a free, fully fledged image editor with extremely deep controls over every parameter of an image, much akin to Adobe’s Lightroom or Capture One. The brilliant thing about it is that you can basically create presets or profiles in this editor and then import them into your camera, so that you get the same look straight out of camera. By adding compatibility for NX Studio’s Flexible Color options to the Nikon ZF, they’ve made it possible to create recipes with advanced color grading, something that doesn’t exist at all in the Fujifilm world. Nikon also has a fairly large database of oficial recipes available for free on their Imaging Cloud portal crafted by “Nikon Creators”, so why did it take me all this time to find one that I really liked or, even better, why didn’t I create one myself?
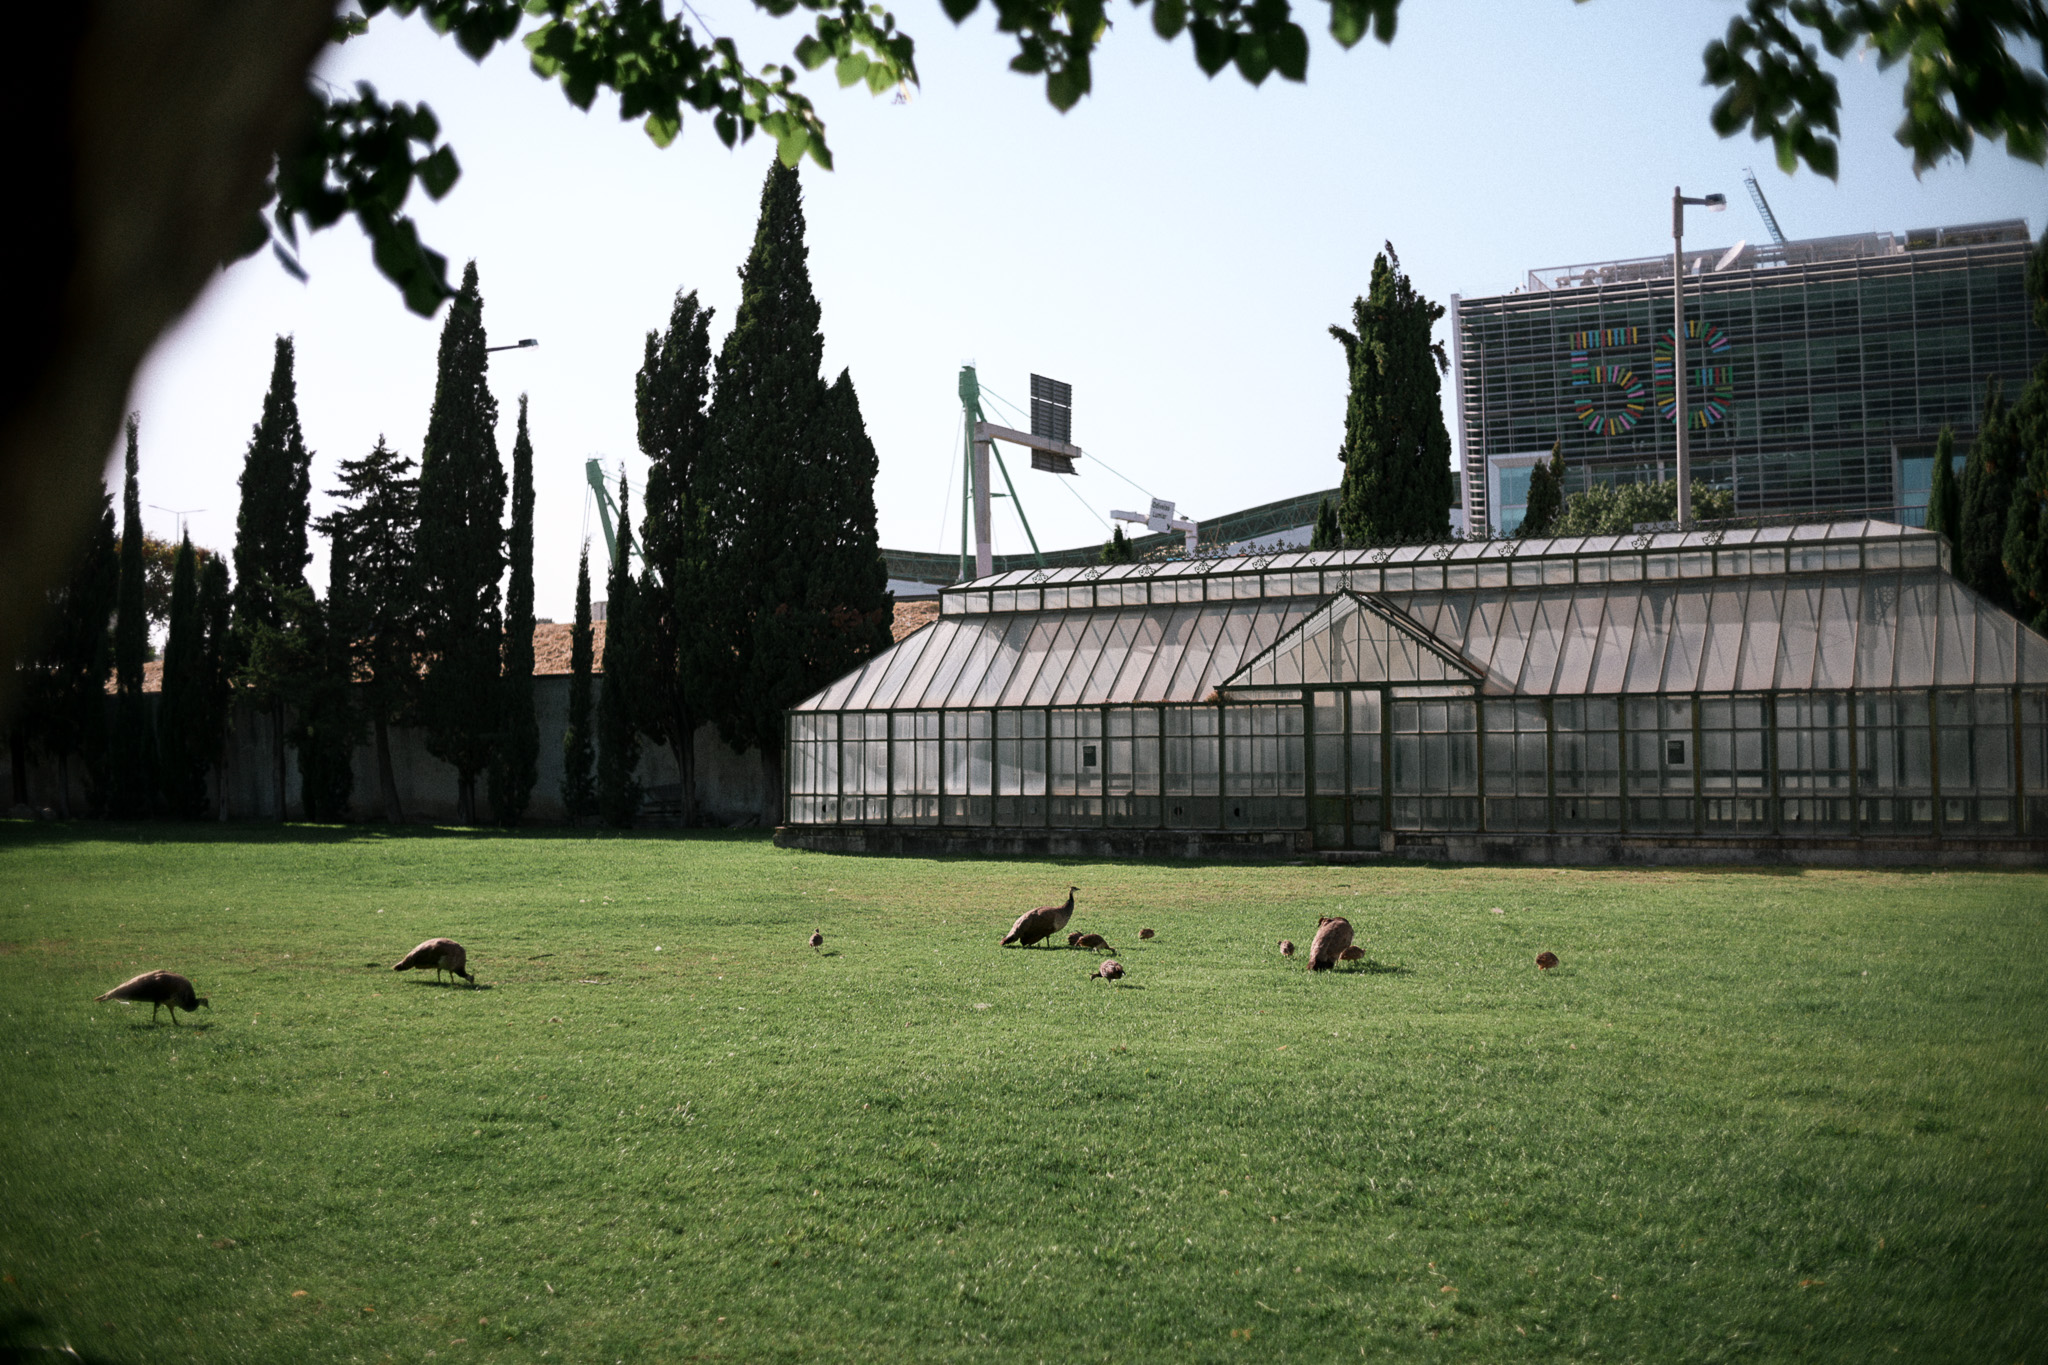

Well, first and foremost, I’m a very lazy person who suffers deeply from “option paralysis”: if you put too much options in front of me, I will quickly get stuck weighting all of the possible choices and combinations. The great thing about Fuji’s film simulations is that they do most of the heavy lifting for you: each simulation provides a beautiful stylized look with minimal effort, and they give you just enough options to tweak it further to your liking without much hassle or any technical knowledge.
Nikon, on the other hand, gives you total freedom to create any look that you can think of with their NX Studio software, but the drawback is that there is some technical knowledge required (especially when it comes to color grading), and you can only do it in your computer, not directly in camera. I tried a few times to mimic the look of Classic Chrome and Classic Negative on NX Studio but failed miserably! I’ve also searched the official Nikon recipes for something I liked for everyday use, but I’ve found most of them to be either too over the top or too bland, I couldn’t find one that really stuck with me.
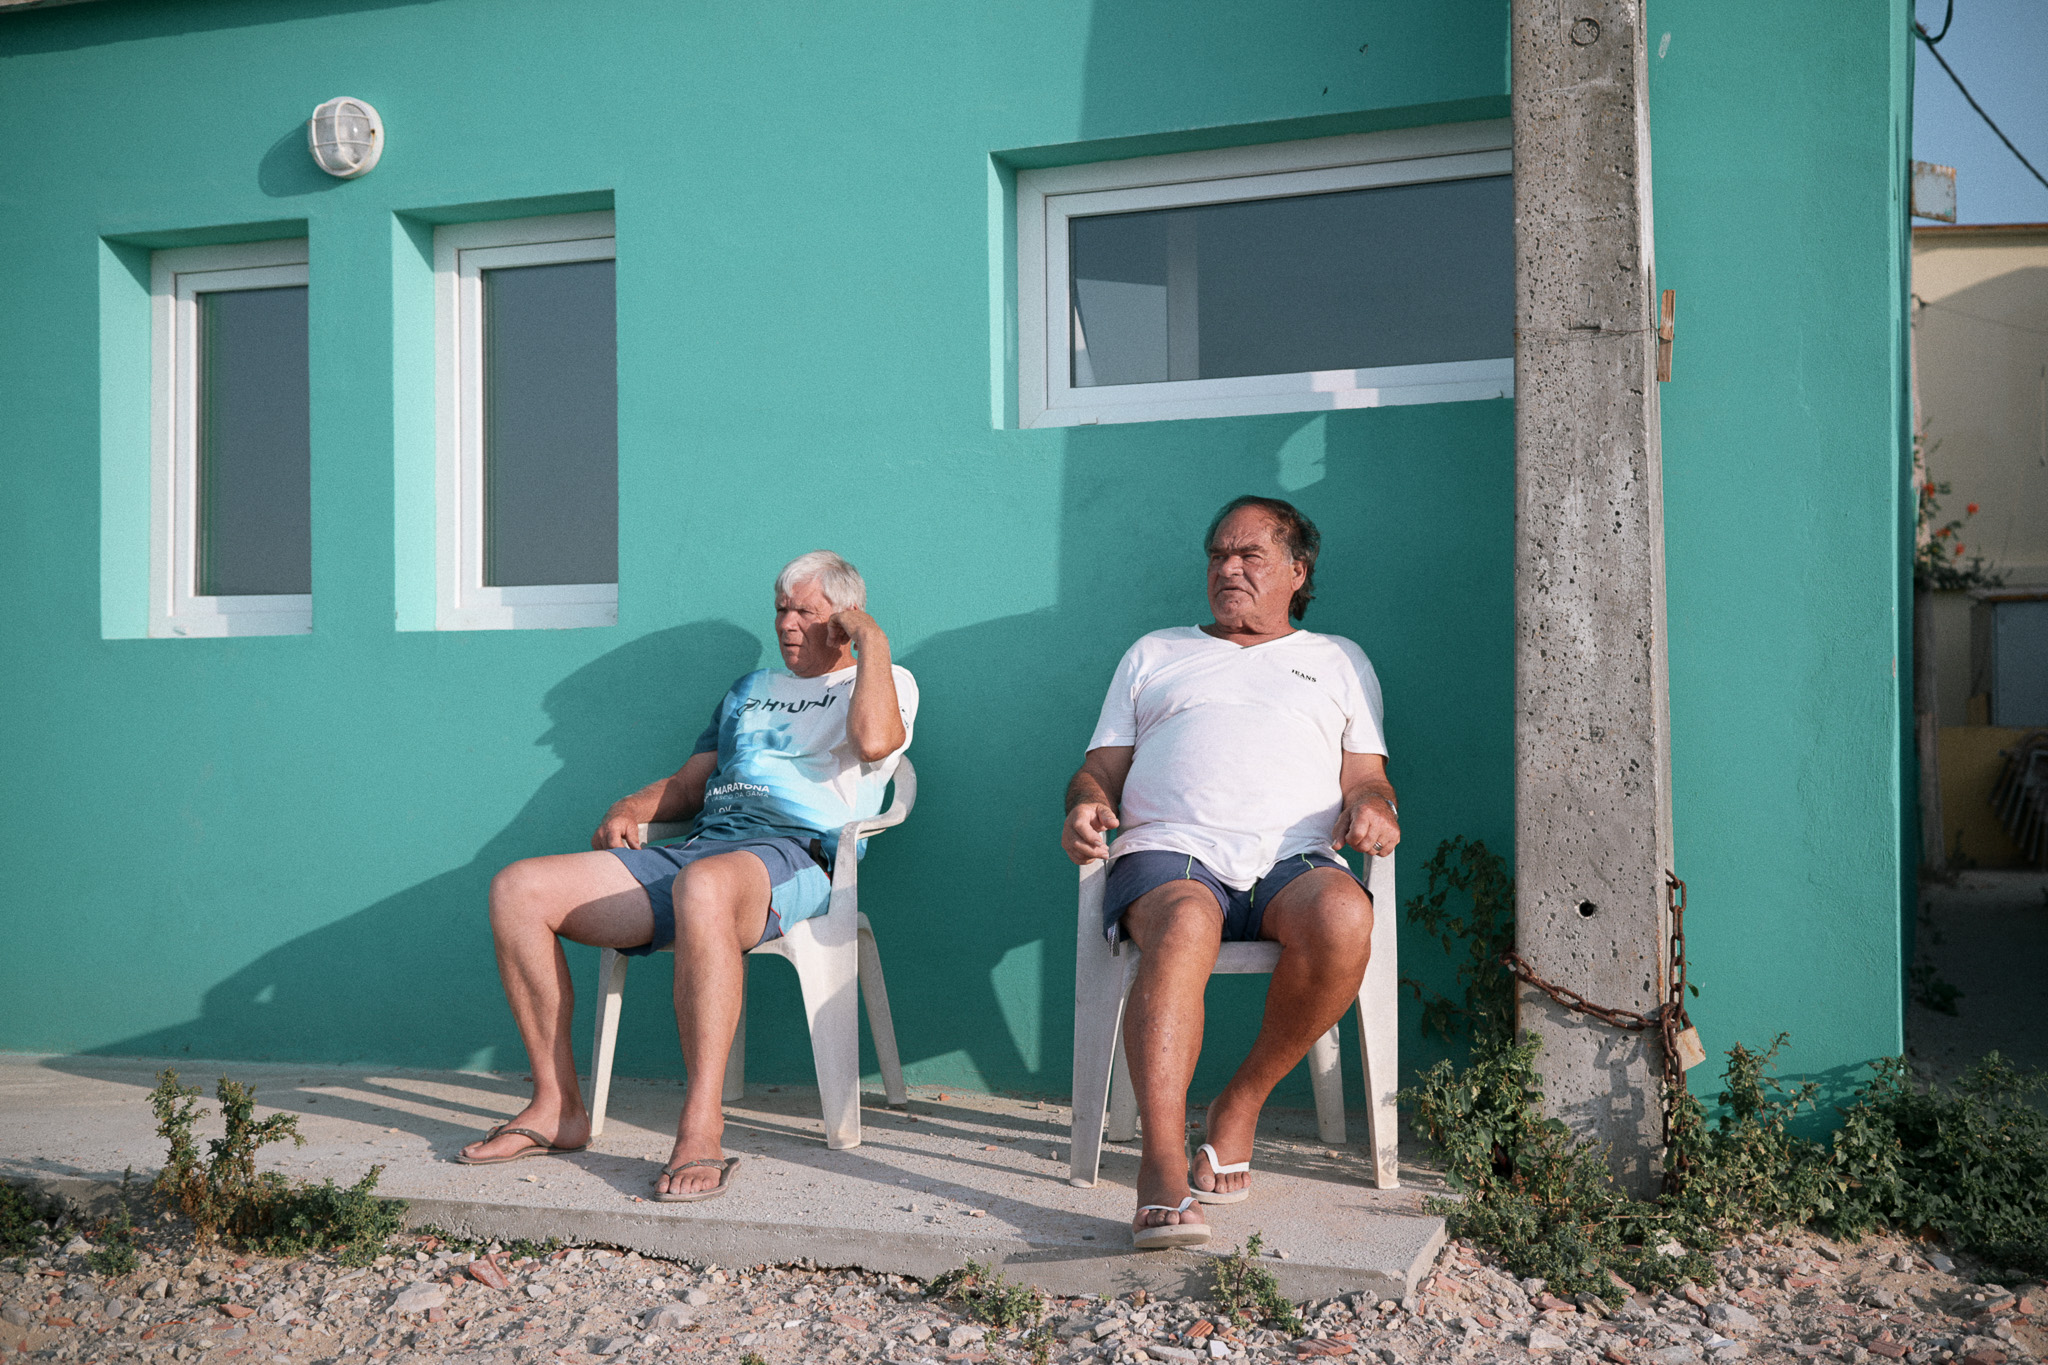
A couple of months ago, during one of my youtube binge watching sessions, I stumbled upon this video by Chris Hagan and was super impressed with the look of the photos I saw there. At first I thought they were raw edits, but then I realized it was actually a Nikon Portra recipe created by Chris himself that he shares for free. I immediately downloaded it, put it on my ZF and for the first time ever I really liked the color Jpgs coming straight out of camera! I won’t go as far as to say that it matches real Portra film, but at this point in my photographic journey that is completely irrelevant to me, I just care if I like the look or not. Chris’ recipe is very well balanced and gives the image the kind of “analog-like” softness that I was looking for, without making it too extreme as often is the case in similar recipes. It also works great in all sorts of scenarios, which is something I always look for.
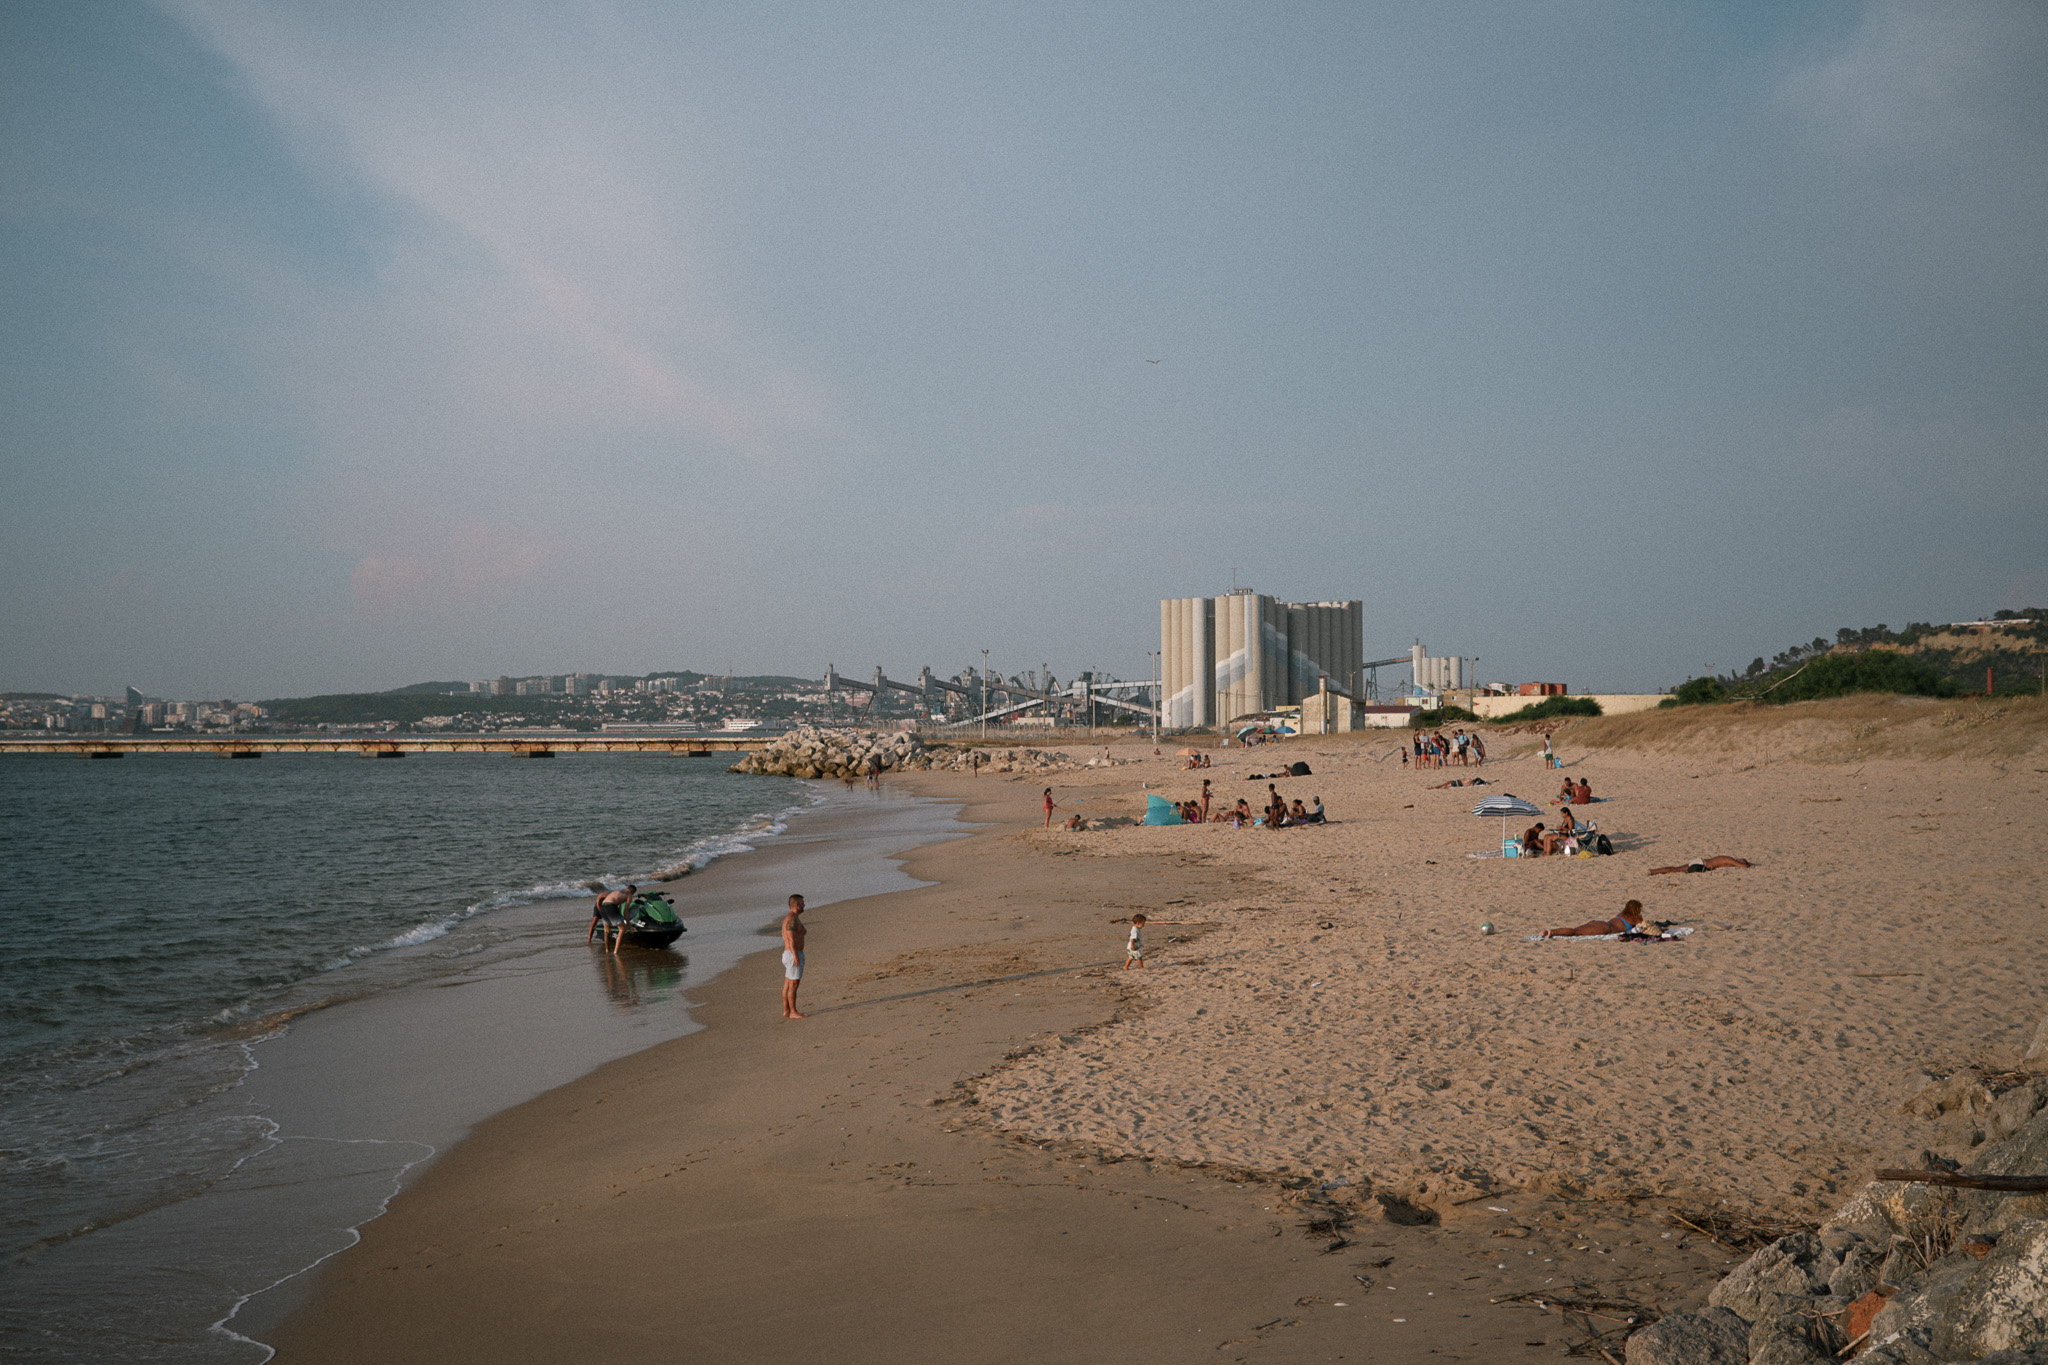
Eventually, I made a couple of very minor tweaks to his recipe for my everyday usage: I slightly reduced the overall saturation and the reds in particular, and I’ve also realized that I prefer to use a +1/3 or +2/3 EV compensation, otherwise the final image looks a bit too dark for my taste. But I still use Chris’ original recipe whenever I want a bit more “pop” in the images!
Here’s a direct comparison of the same photograph with Chris’s recipe on the left and my tweaked version on the right:


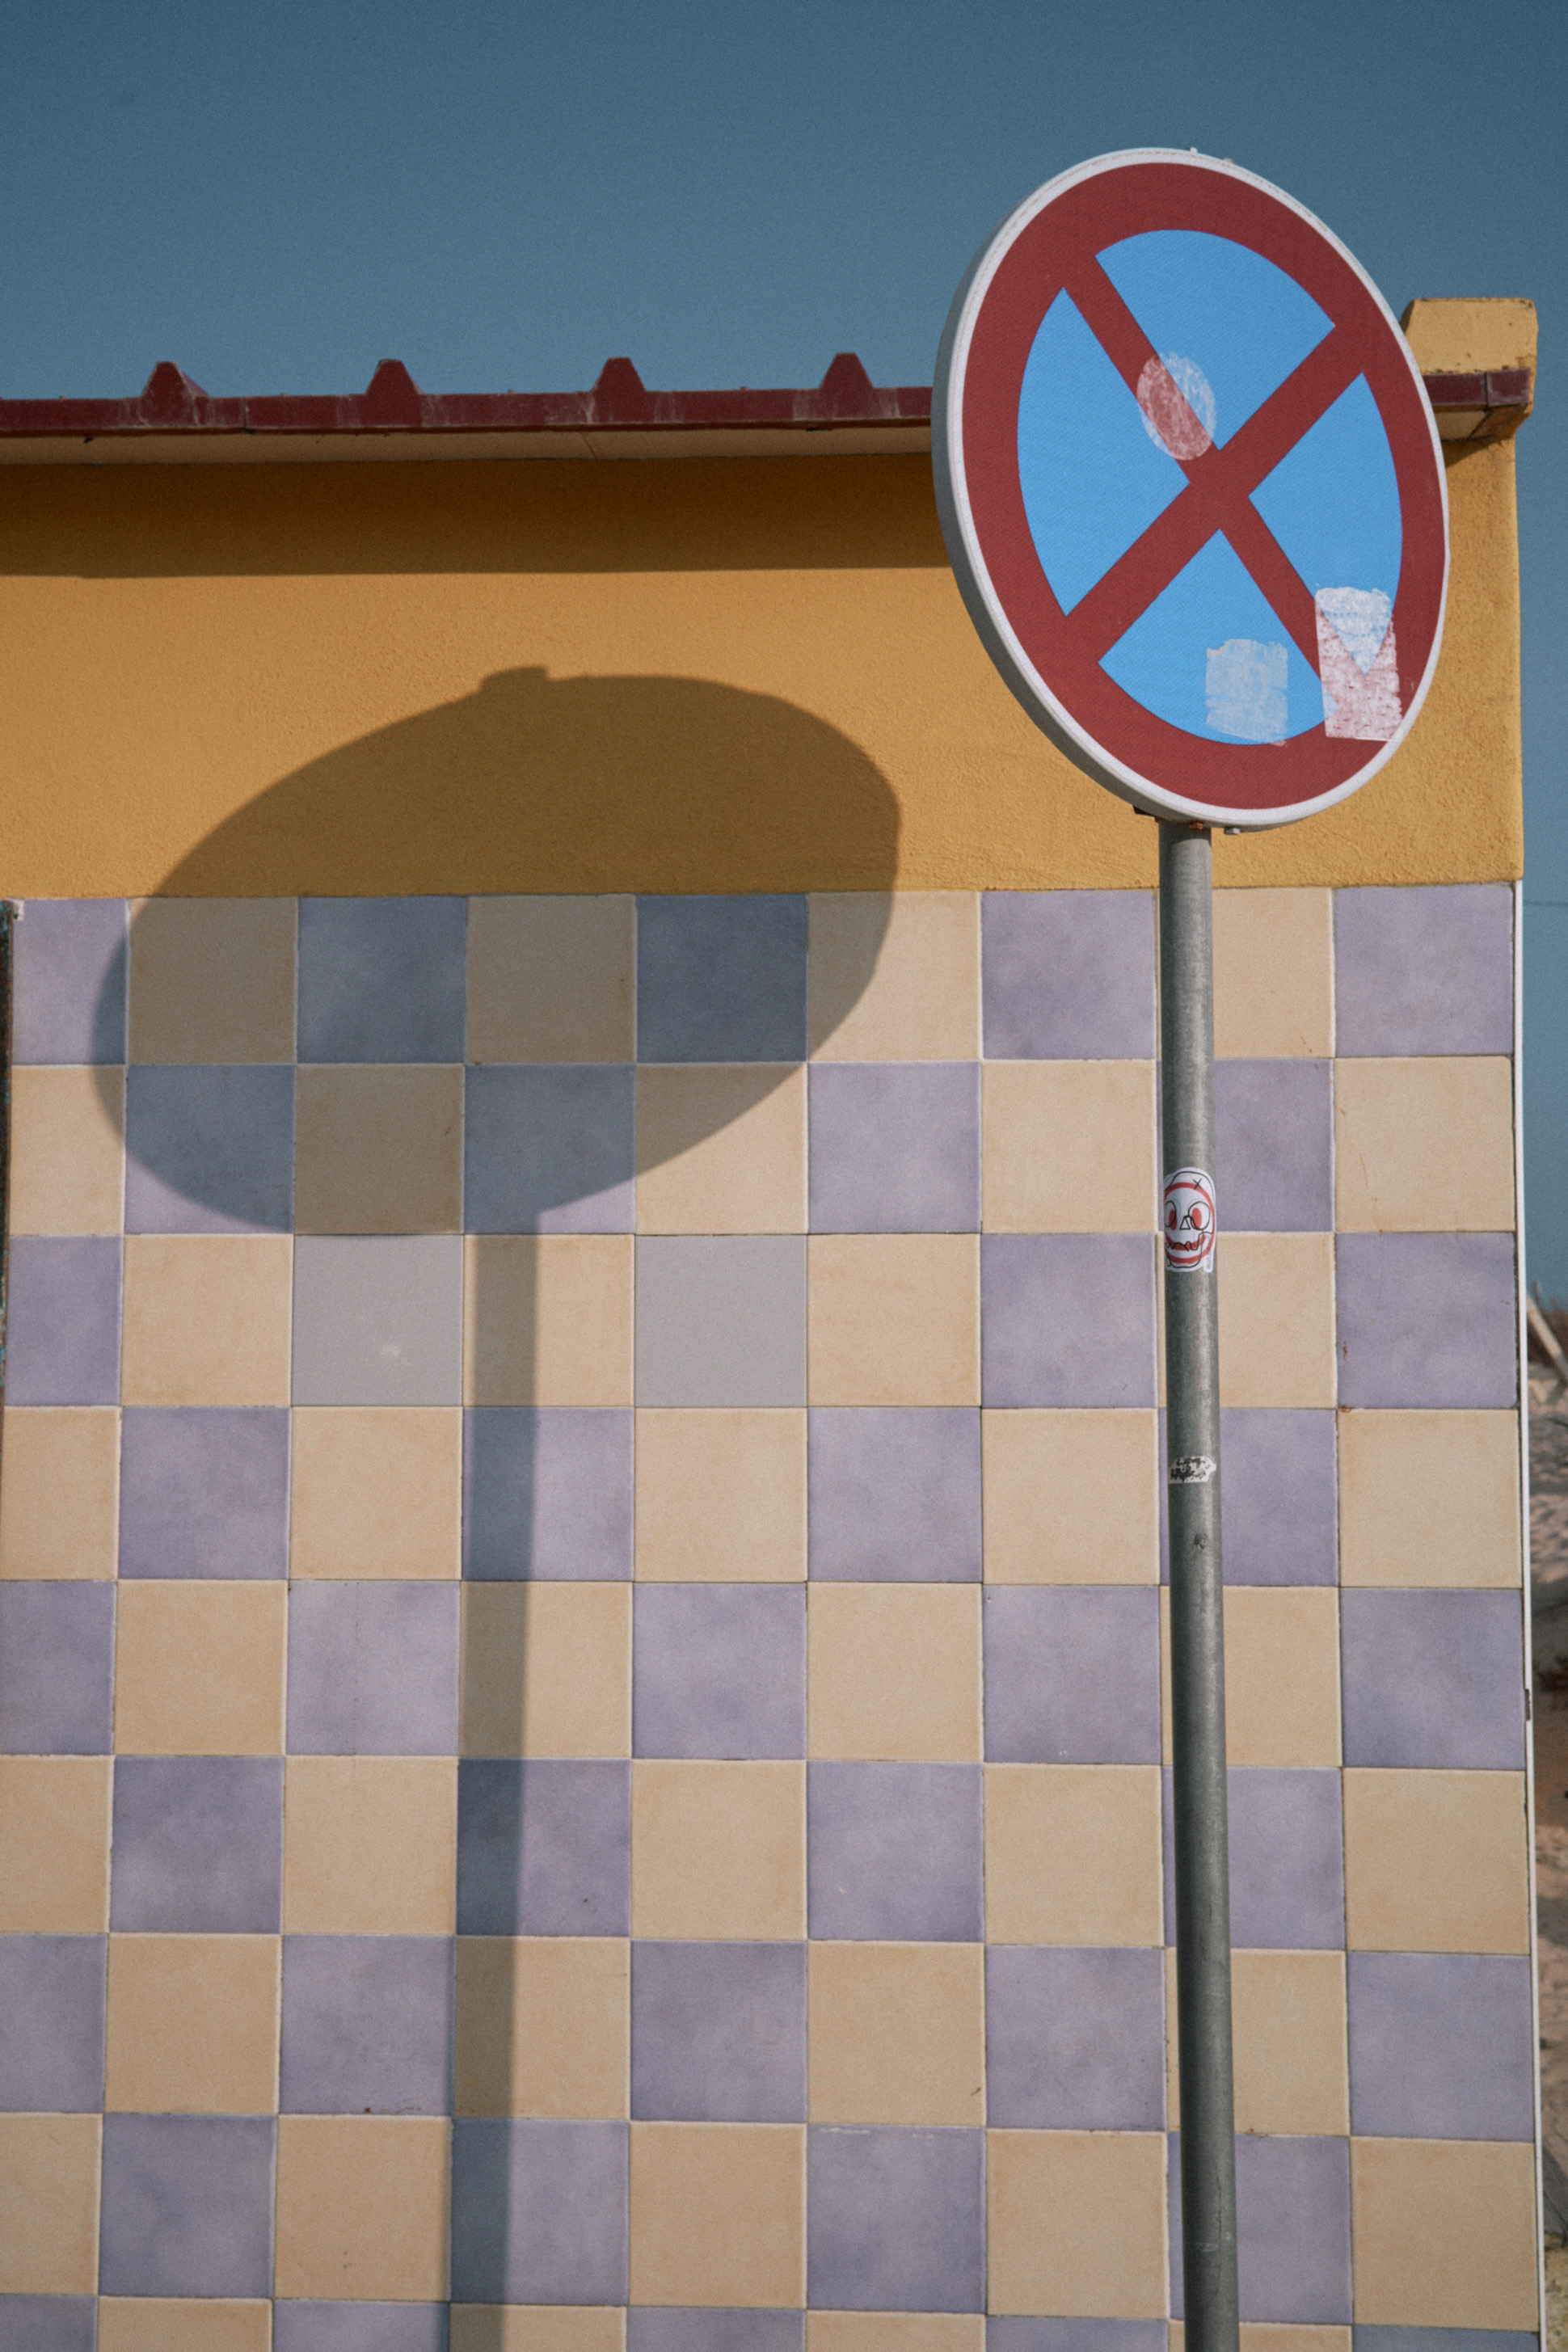
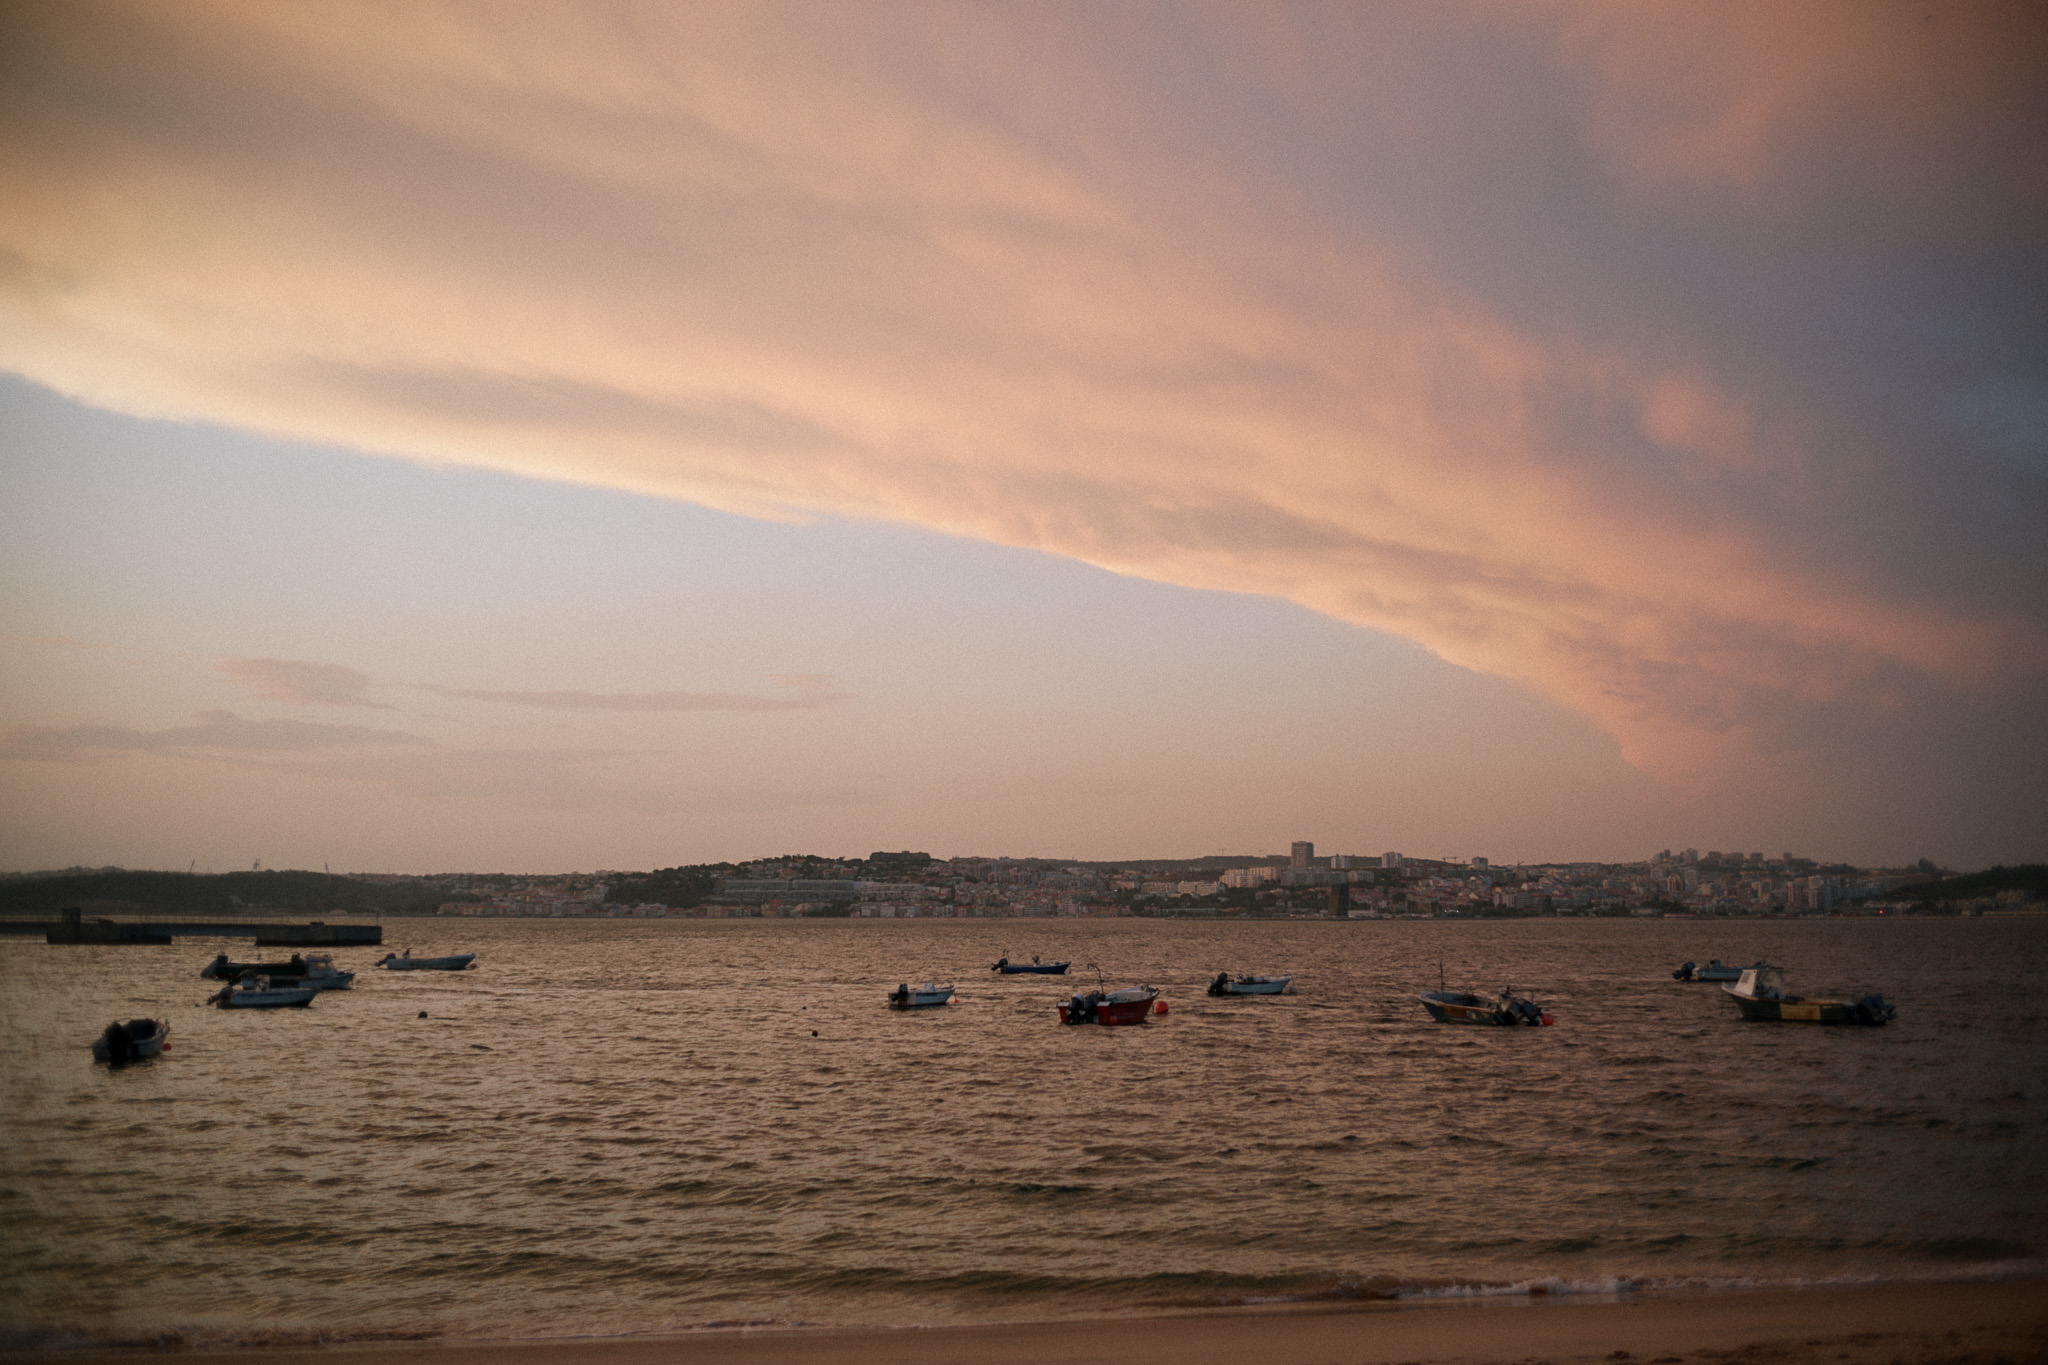
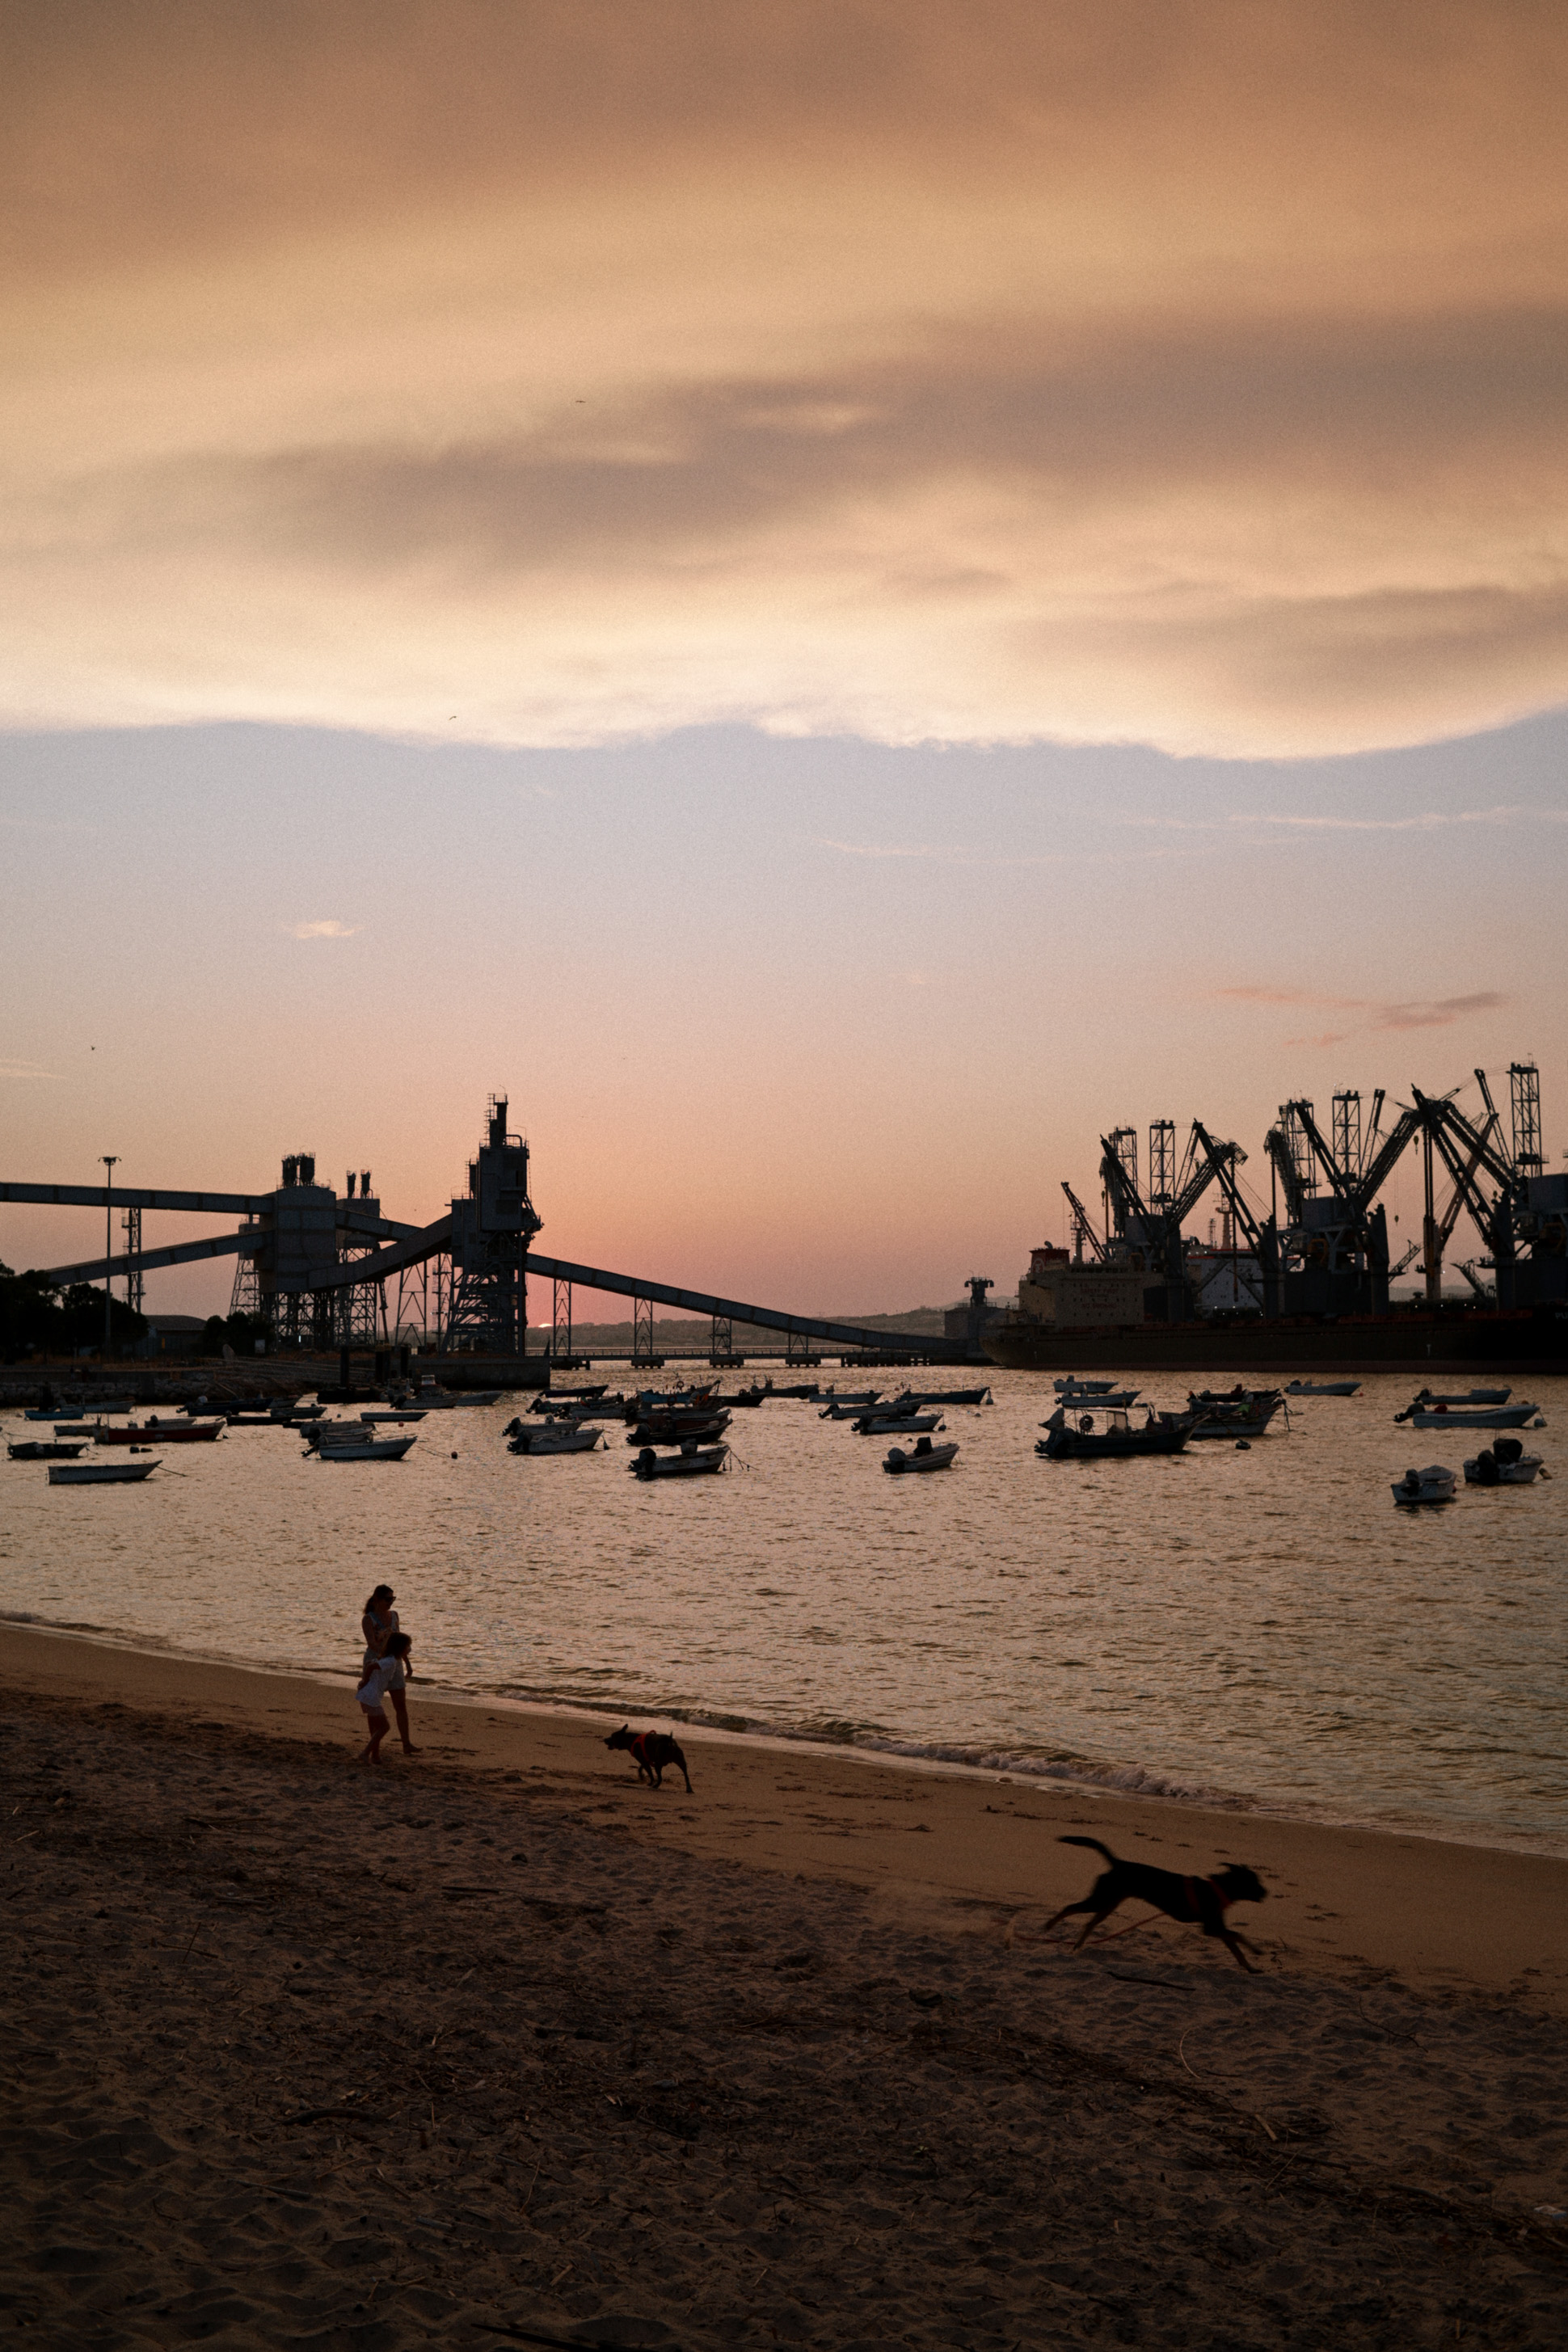
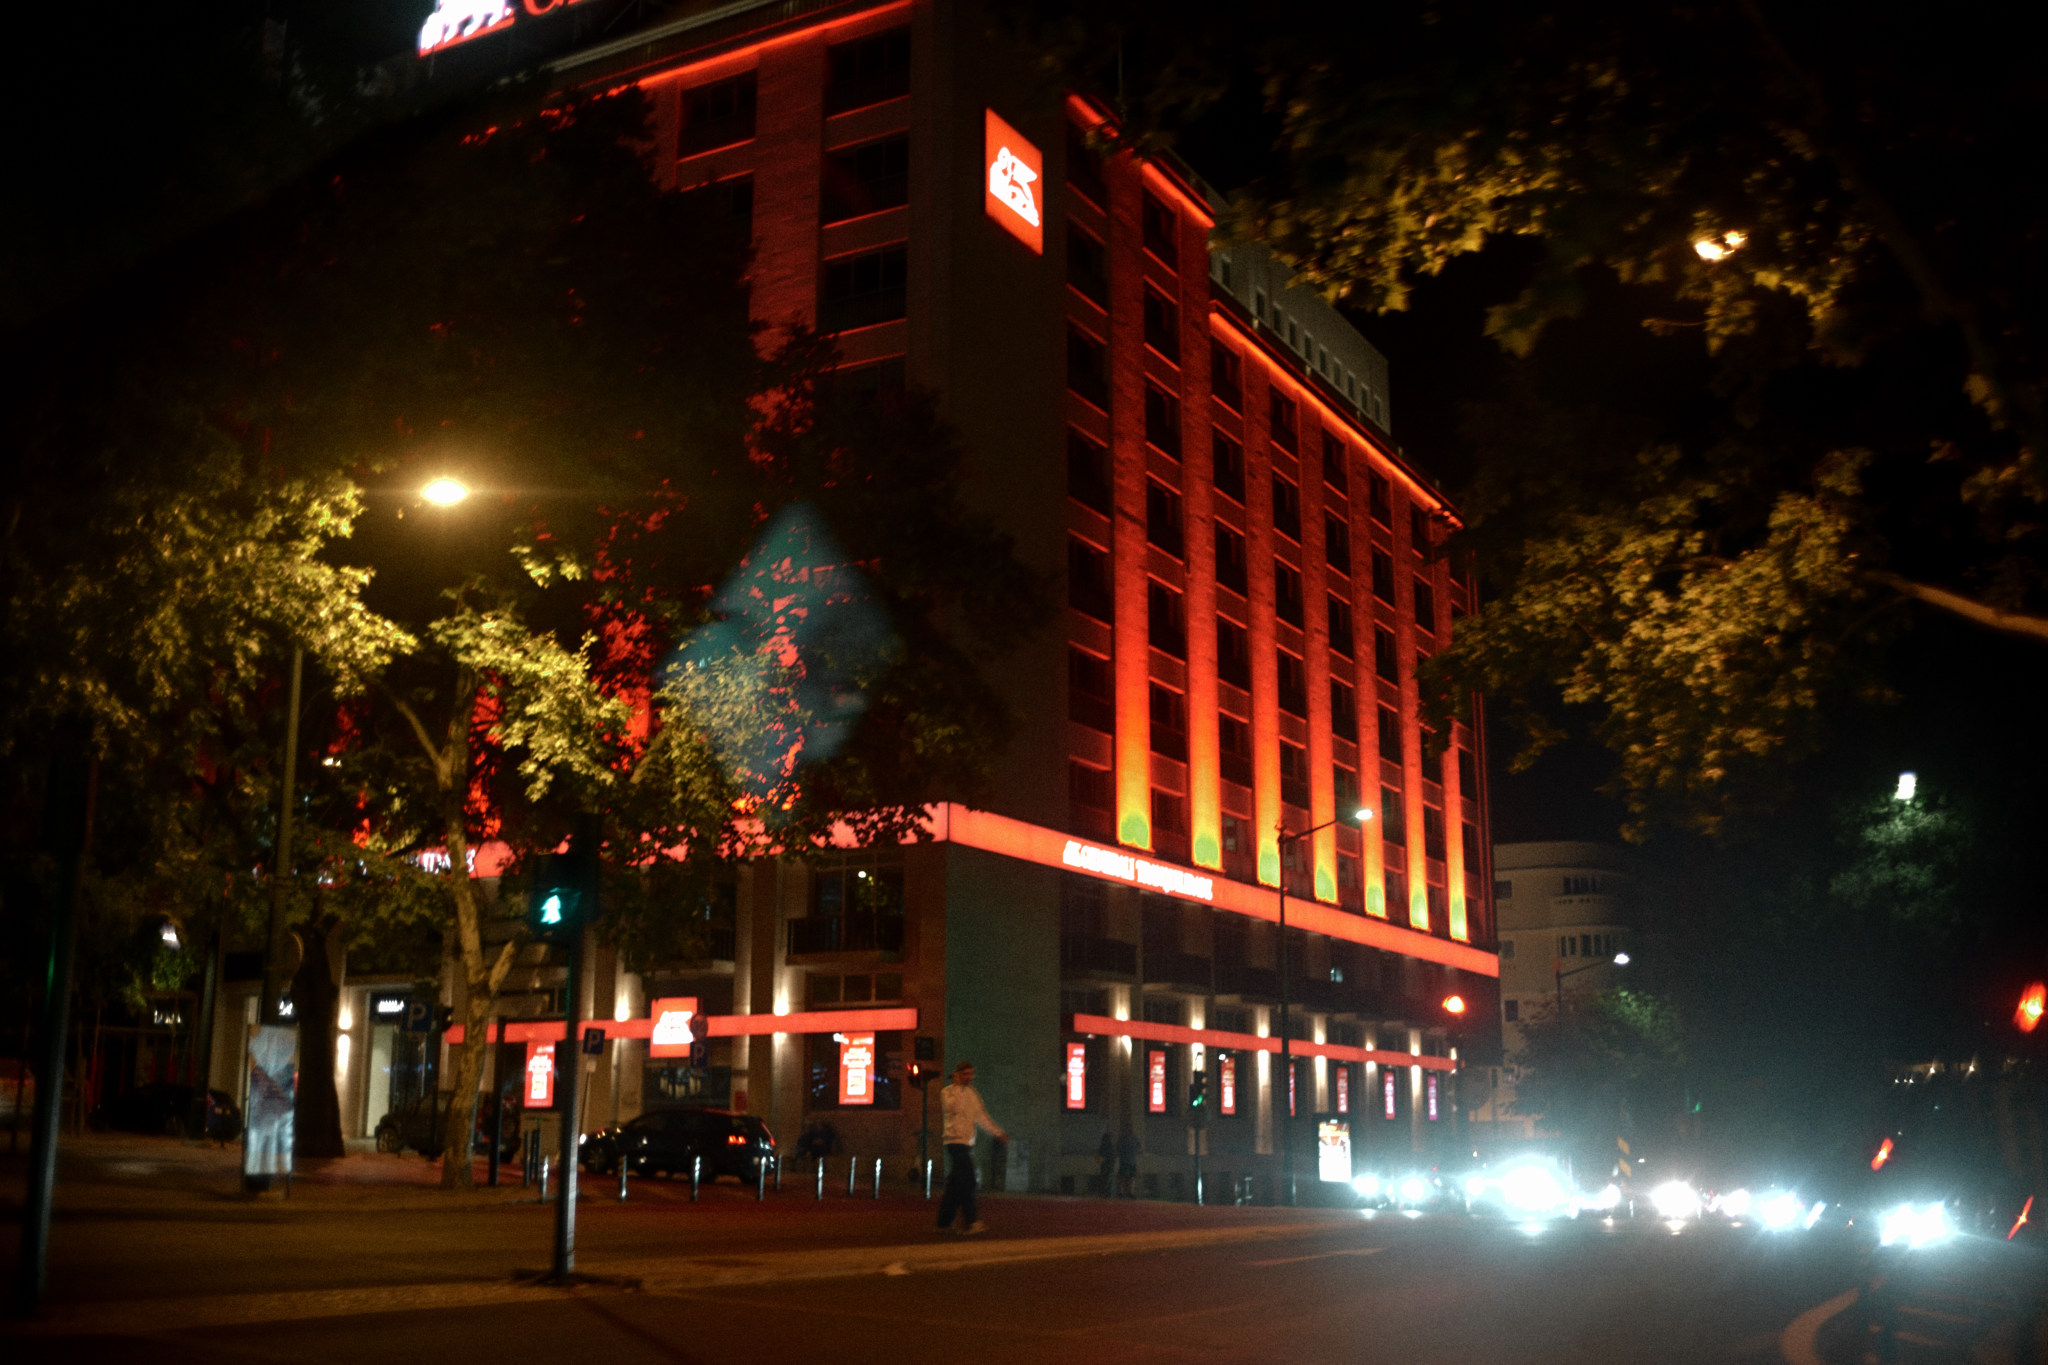
A big shoutout to Chris for sharing his recipe for free, I will close this off with a few more SOOC Jpegs taken in different scenarios with my tweaked version, so you can see for yourself how versatile it is.
You can download Chris’s original recipe here, and my tweaked version here.